These delightfully sour and salty preserved lemons are not only delicious in recipes, they're also incredibly fun and easy to make!

Trust me when I say that this is one of those recipes that you'll be so glad to have under your belt if you love lemons and want to take things up a couple notches in your cooking.
This fancy and mysterious tasting (yet so easy-to-make) condiment is often found in Moroccan and North African dishes, with a very interesting history including therapeutic uses in Ayurvedic and East African folk medicine. This makes sense because it's a fermented food, meaning that you get all of the delicious taste benefits in addition to the natural probiotics created by the fermentation process itself. A win-win.
One of my favorite ways to use preserved lemons is when I need to take a rather plain side dish from good to great, like brown rice for example. I'll use chicken broth in place of water to cook the rice in, and mix in some chopped fermented lemons at the end and boom! A magically upgraded side with all the flavor.
Tip: If you love this recipe and want to try fermenting more goodies, I strongly recommend these savory lacto-fermented carrots next. 😉
🌿 Ingredients
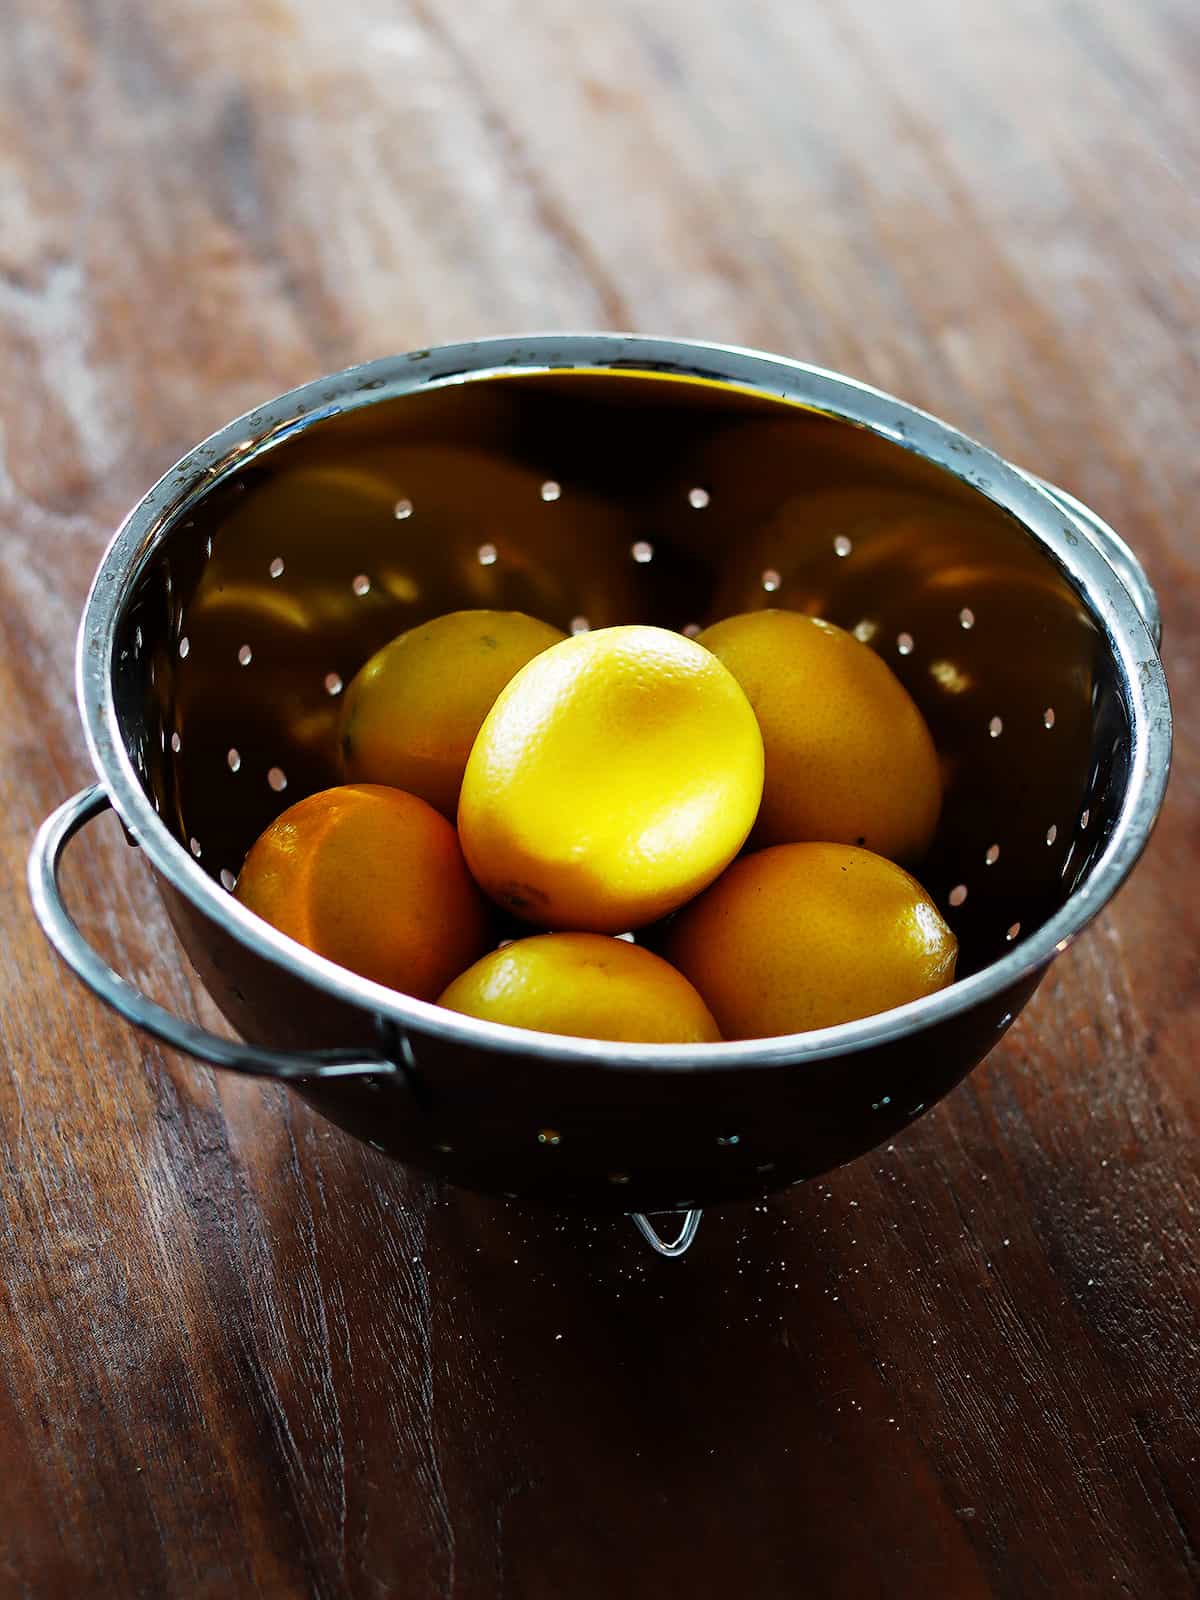
Would you believe this recipe only requires two ingredients? It's true! Just fresh lemons, and sea salt. One note though: I like to use Meyer lemons for this recipe rather than standard lemons. Any lemons will work, but the Meyer variety (if you can find them) have milder and softer skins which work really well for fermentation.

See recipe card below for exact quantities.
📝 Instructions
The first thing to keep in mind when making anything that requires fermentation, is that the process takes some time. So while the active hands-on time for this preserved lemon recipe is only about 20 or 25 minutes, you'll need to leave your lemons to ferment on the counter for at least a couple of weeks.
In other words, you won't be able to use them in tonight's dinner...but the wait will be well worth it, I promise!
How to preserve lemons
To get started, wash you hands first, and then wash all of the lemons really well (you don't want any stray bacteria to make their way into your ferment.)
Then, using a sharp paring knife or chef's knife, slice the ends off each lemon. Cut each lemon lengthwise as if you're going to quarter it, but stop just short of cutting all the way though.
Pro tip: Save one lemon aside for now and prep the rest; you may need a little extra fresh lemon juice to top off your ferment.

Using your hands or a clean spoon, sprinkle a generous amount of salt over each sliced lemon. You can pry apart the quartered sections a little first to really get the salt in and around the insides of each lemon.

Making the salt brine
Next, sprinkle a good coating of salt into a tall quart-sized Mason jar.
Pro tip: Wide-mouthed Mason jars are easiest to use for fermenting, since they allow for more room to get your hand in and out of the jar as you prepare your ferment.
Then, place each well-salted lemon into the jar, sprinkling with some more salt as you go along.
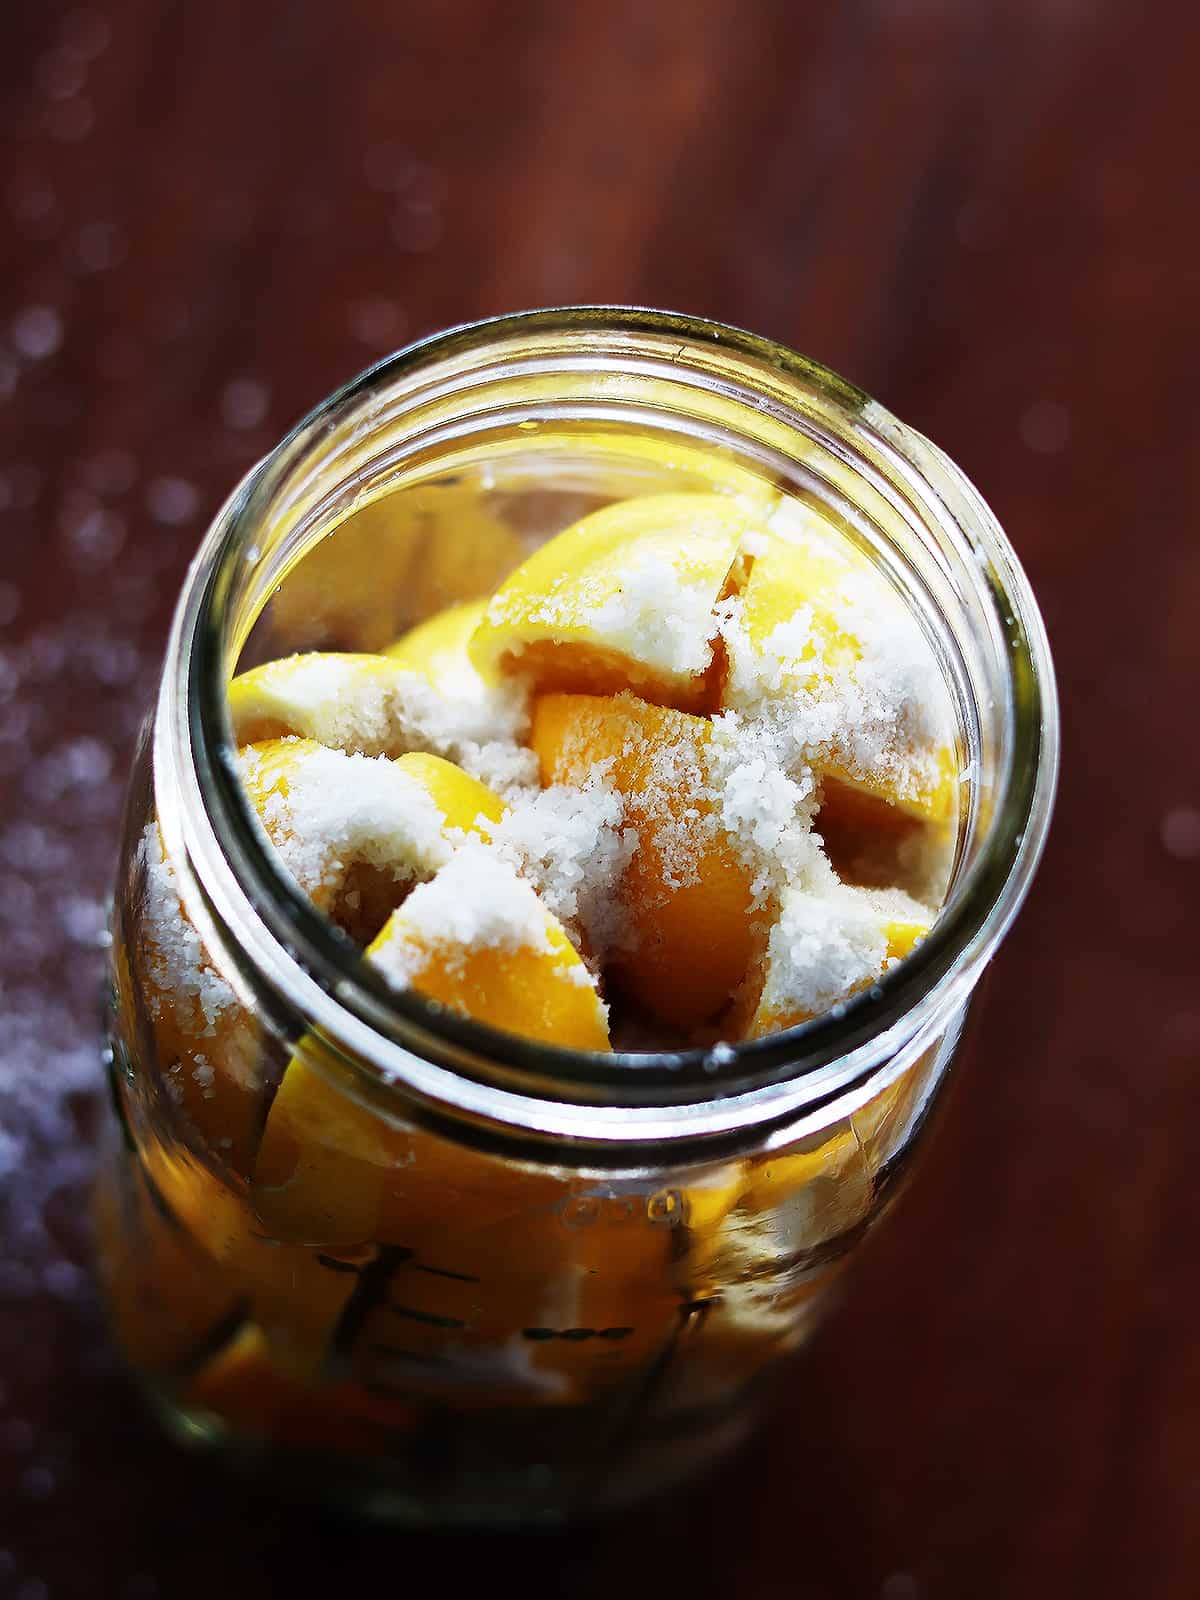
Finally, use a clean potato masher to press down hard on the lemons in order to squeeze out as much of their juices as possible. I used the masher from my Vitamix and worked great.
Pro tip: You can let the salted lemons sit a little in the jar first (and/or partway through mashing) so that they naturally start to soften and break down from the salt.
Keep mashing until you have enough juice to cover the tops of the lemons completely. If necessary, juice the extra lemon you set aside earlier into the jar to top off the liquid.

Once you've covered all of the skins with enough juice, lightly cover the jar with a lid and set aside at room temperature for 2-4 weeks. Then, move your covered Mason jar to the fridge to stop the fermentation process.
Pro tip: If your kitchen is on the warmer side (or in the summertime), ferment for closer to 2 weeks, and if it's cooler ferment for up to 4 weeks.
To use your lemons in cooking, remove one from the jar, rinse well and remove any seeds, and finely chop the rind to add to your favorite recipes.
📋 Substitutions
Yes, fermented limes are a thing too! 🙂
- Lime - simply use fresh, well washed limes in place of lemons and follow the same fermentation process
🔪 Equipment
Here is the equipment you'll need to make preserved lemons:
- small colander (optional, for washing lemons)
- cutting board
- paring knife
- quart-sized Mason jar with lid (wide-mouthed jars are best)
- potato masher
🍱 Storage
Preserved lemons will stay good in a covered jar in the fridge for up to 12 months.
You can also store the rinds in the freezer for up to 2 years. Just rinse them off, remove the juice, pulp and any seeds, and pack into freezer bags or an airtight container. (I'd recommend using small freezer bags to individually hold a couple of rinds per bag so that they don't all freeze and stick together in one large lump.)
🎉 Top tip
Don't hold back on the salt in this recipe; you'll need a lot so that the fermentation process can be successful and kill off any unwanted bacteria along the way. It may seem like you're adding a lot of salt initially, but remember that you'll only be eating a tiny bit of the chopped preserved lemons at a time in a finished dish (a little goes a long way)...and they're divine. 😉
Enjoy!
💭 FAQ
While any variety of lemon can be used to ferment lemons, Meyer lemons work particularly well due to their milder flavor and softer skins.
The amount of salt required to make preserved lemons will vary depending on the recipe and the size of the jar, but a good rule of thumb is to use about ¼ to ½ cup of salt for a quart-sized jar filled with lemons.
Salted lemons will need to sit in a lightly covered jar at room temperature for at 2-4 weeks before they are fully preserved and ready to use in cooking.
Fully fermented lemons should be stored in a covered jar in the refrigerator. If kept submerged under the salt brine, preserved lemons can last for up to twelve months or more.
🍳 Recipe

Preserved Lemons
Ingredients
Equipment
Method
- Prep: Wash your hands well, and then wash all of the lemons and set aside in a clean colander or bowl. Using a sharp paring knife or chef's knife, slice the ends off all but one lemon, saving it aside for juicing later on if necessary. Cut each lemon lengthwise as if you're going to quarter it, but stop just short of cutting all the way though.
- Salt: Using your hands or a clean spoon, sprinkle a generous amount of salt over each sliced lemon. You can pry apart the quartered sections a little first to really get the salt in and around the insides of each lemon. Next, sprinkle a good coating of salt into a tall quart-sized Mason jar. Then, place each well-salted lemon into the jar, sprinkling with some more salt as you go along.
- Brine: Finally, use a clean potato masher to press down hard on the lemons in order to squeeze out as much of their juices as possible. (I used the masher from my Vitamix to press down on the lemons.) Keep mashing until you have enough juice to cover the tops of the lemons completely. If necessary, juice the extra lemon you set aside earlier into the jar to top off the liquid.
- Ferment: Once you've covered all of the skins with enough juice, lightly cover the jar with a lid and set it aside at room temperature for 2-4 weeks. Then, move your covered Mason jar to the fridge to stop the fermentation process.
- Enjoy: To use your lemons in cooking, remove one from the jar, rinse well and remove any seeds, and finely chop the rind to add to your favorite recipes. Preserved lemons will stay good in a covered jar in the fridge for up to 12 months, or you can store the rinds in the freezer for up to 2 years.


Leave a Reply