This easy small batch dark chocolate recipe is creamy and delicious, sweetened naturally with only honey or maple syrup. Once you learn how to make chocolate at home, you may not want to go back to store bought again!
"I have tried your dark chocolate recipe, and I must say, "Wow!" It not only tastes amazing but also reminds me of my favorite organic super dark chocolate. Now, I have the option to make it at home when I don't have time to buy one. Thank you!"
⭐⭐⭐⭐⭐ - Claudia, One Happy Dish reader
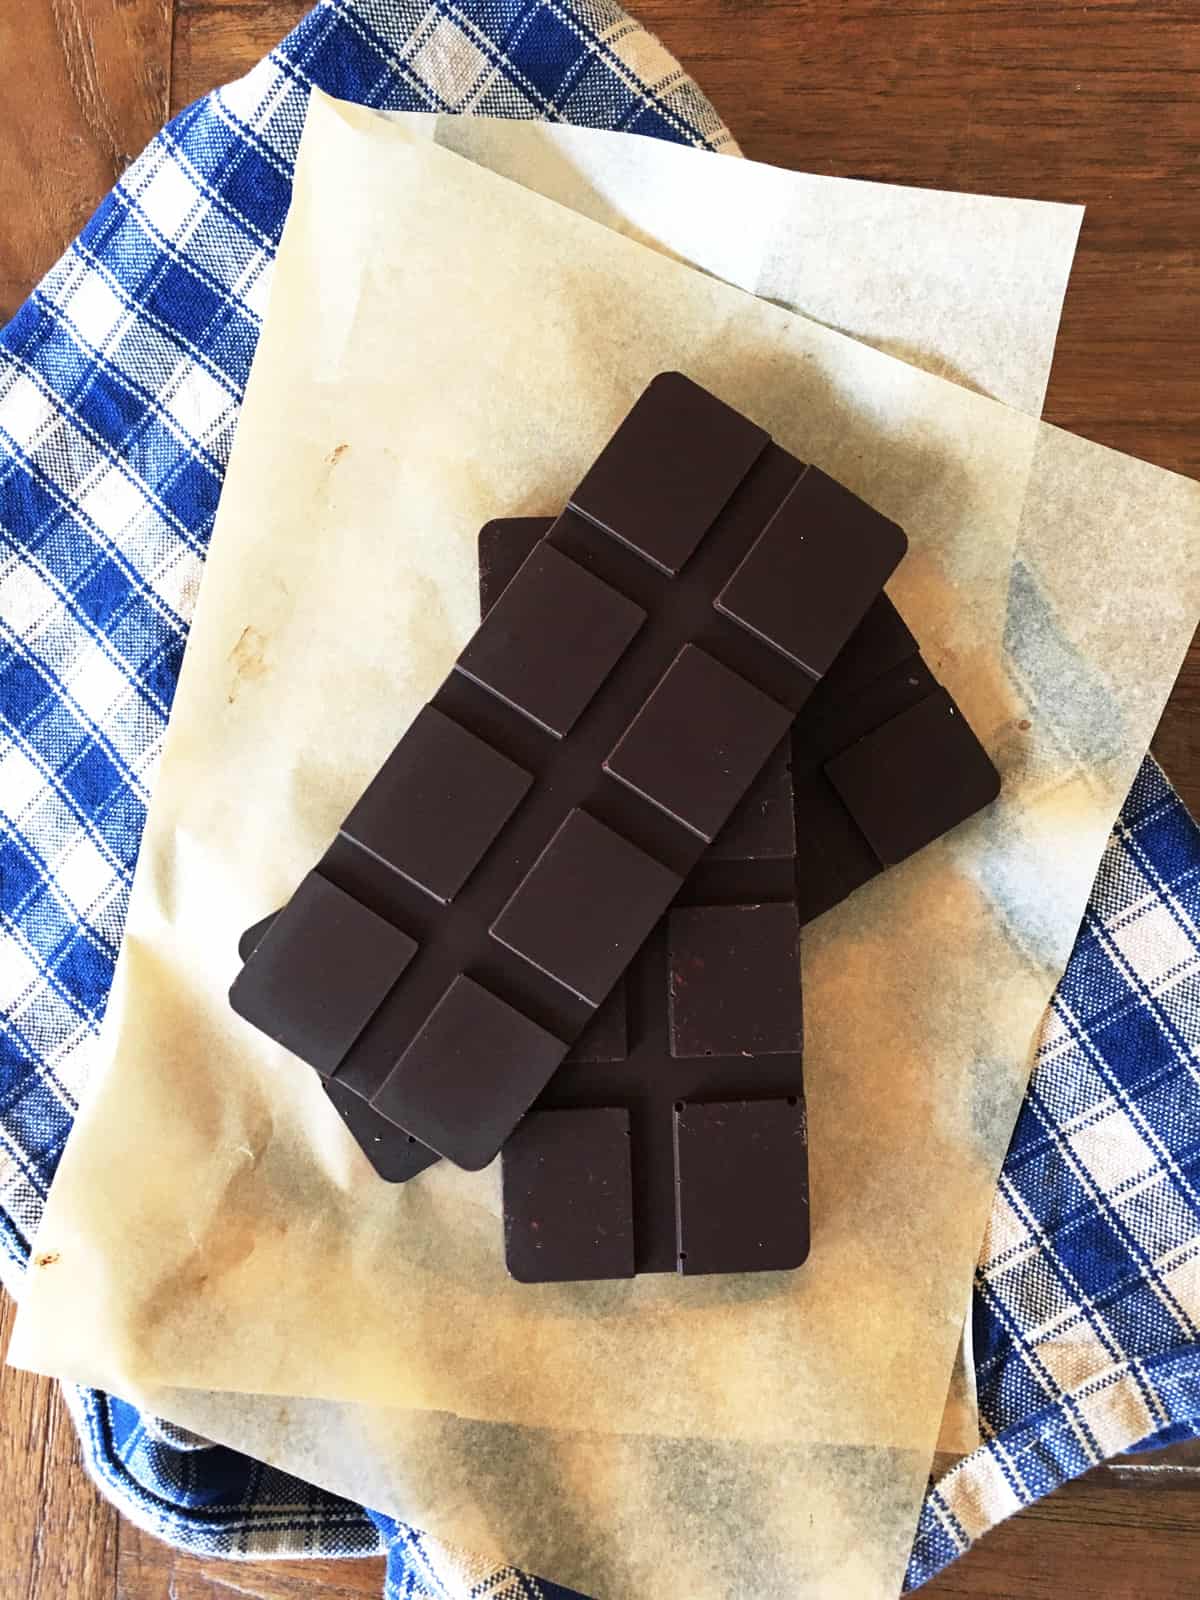
I love making chocolate bars right in my own kitchen. It's just so satisfying to know exactly what ingredients went into them and that they haven't been sitting on a shelf in wrappers for who knows how long. Plus, they really are SO delicious. Trust me when I say that you probably won't want to go back to store-bought after you try this recipe. As DIY chocolate recipes go, this is one of the easiest with no prior experience required.
Pro tip: Keep in mind that this easy chocolate recipe is untempered, meaning that it doesn't include the more complicated process of cooling and reheating the chocolate at specific temperatures to stabilize the sugar crystals. But while this chocolate melts a little more easily at room temperature and doesn't have the same "snap" as a store-bought bar, it's every bit as delicious. 🙂
🌿 Ingredients
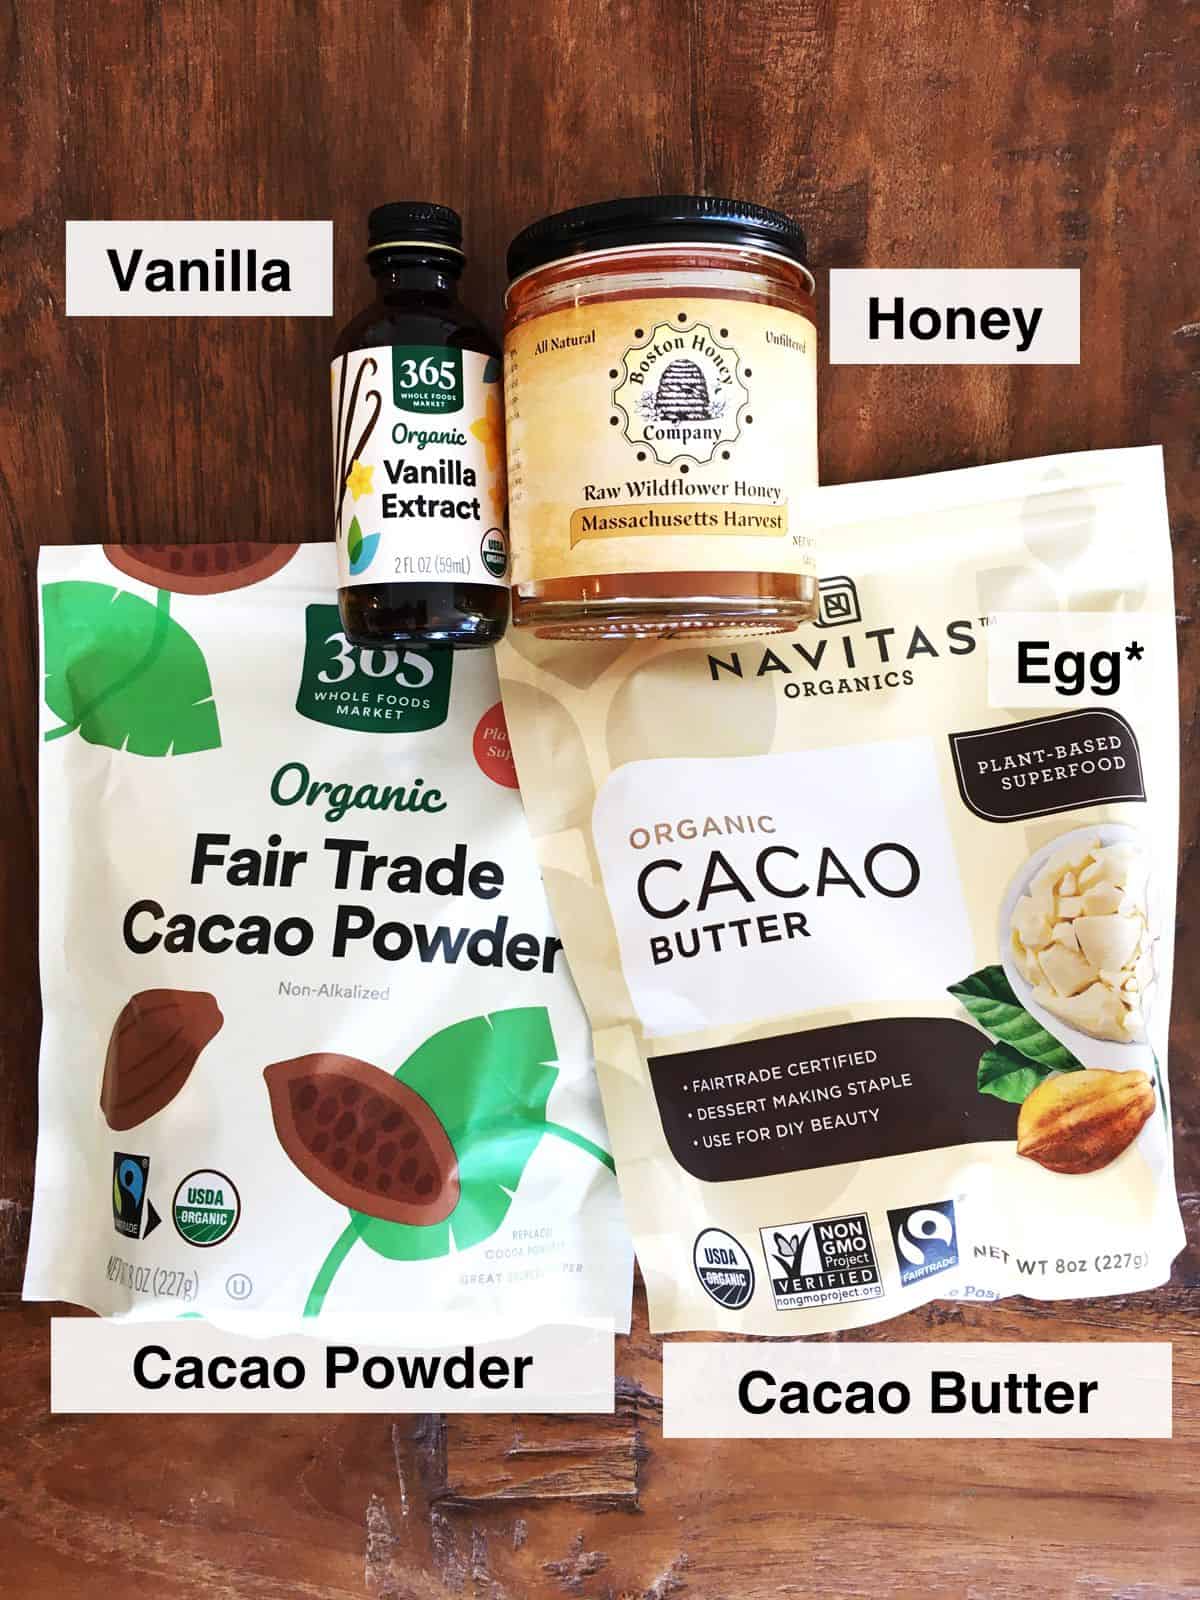
The ingredients for this recipe are very minimal, with the two key ingredients being cacao powder and cacao butter (affiliate links). Most larger natural foods stores sell them, but you can also order them online. Also, free free to substitute unsweetened cocoa powder for the raw cacao powder, and maple syrup instead of honey to make vegan chocolate. Some optional add-ins include:
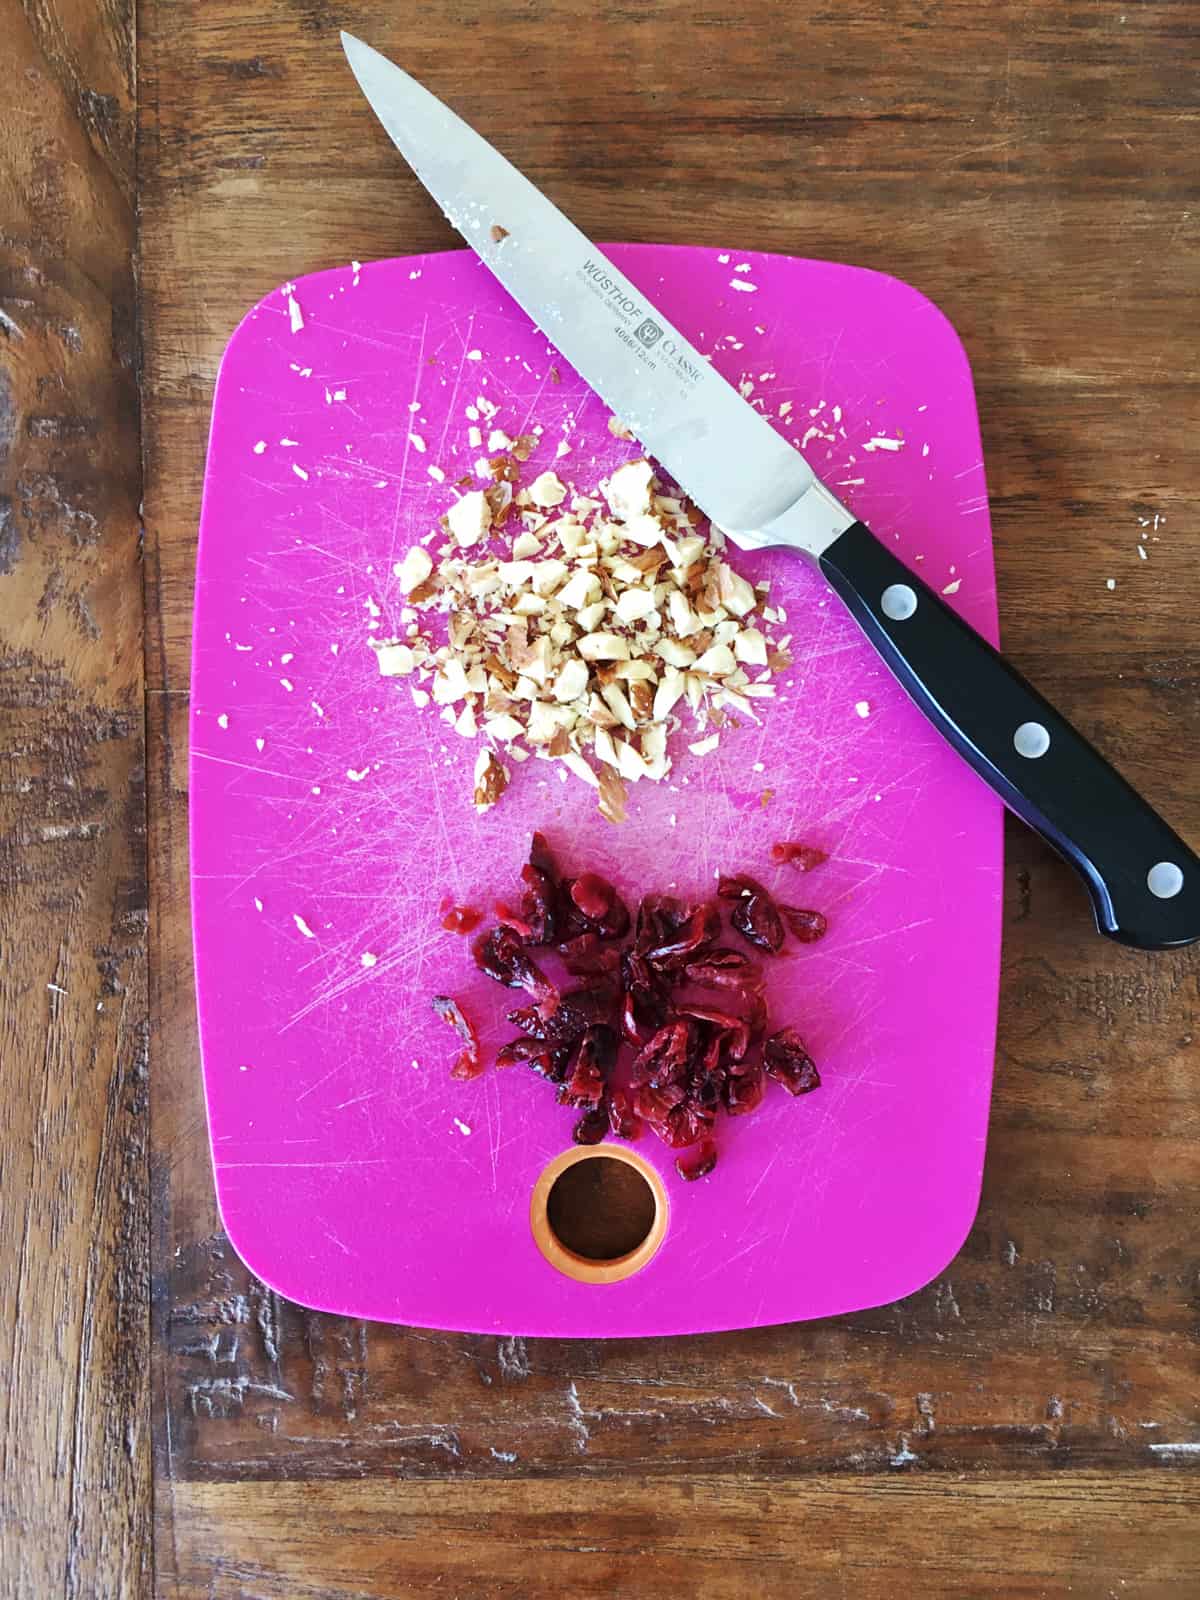
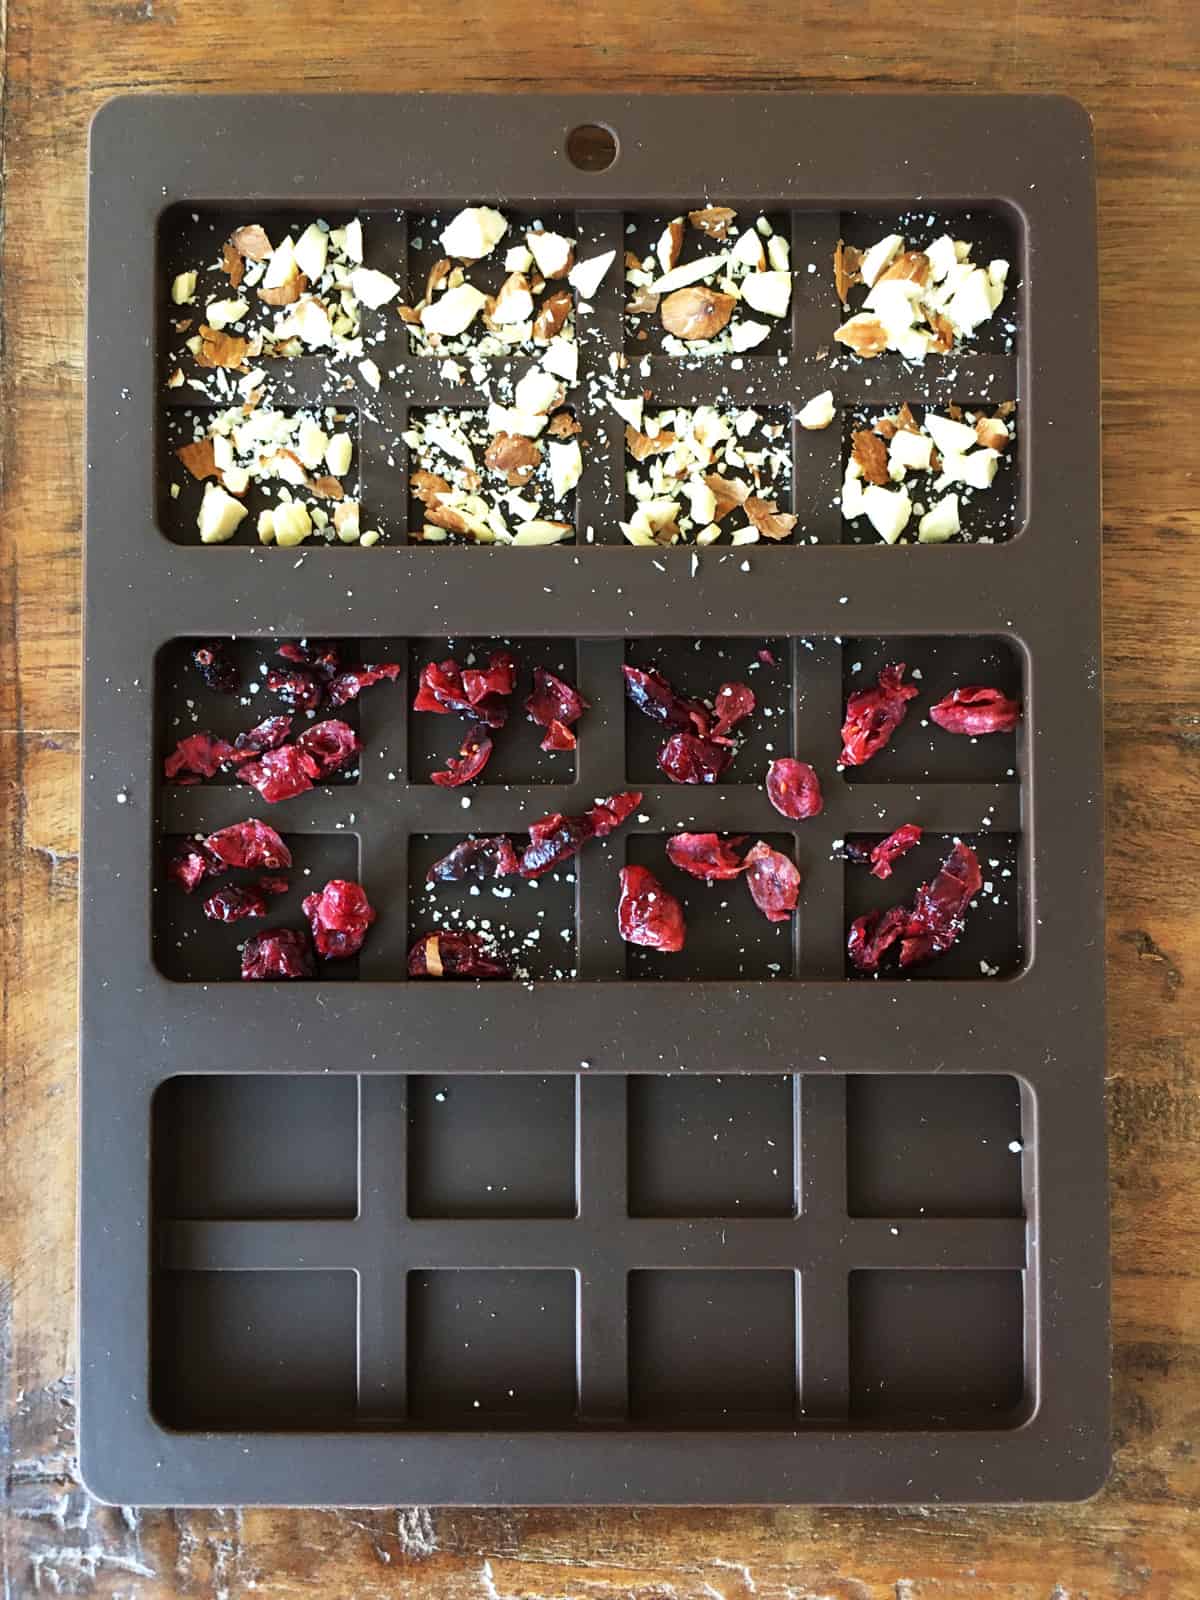
- chopped almonds, cashews or peanuts
- chopped dried cranberries
See recipe card below for exact quantities.
⚙️ Equipment recommendation
The main item you'll need to make your own chocolate is a silicone chocolate bar mold (affiliate link.) But if you don't have a mold, you can simply line a shallow baking dish with some parchment paper to make one large chocolate sheet, and then break it into pieces once it's cooled.
A double boiler (affiliate link) is helpful for melting the chocolate if you have one, but you could also just use a stainless steel bowl over a pot instead.
📝 Instructions
🥧 Serving suggestions
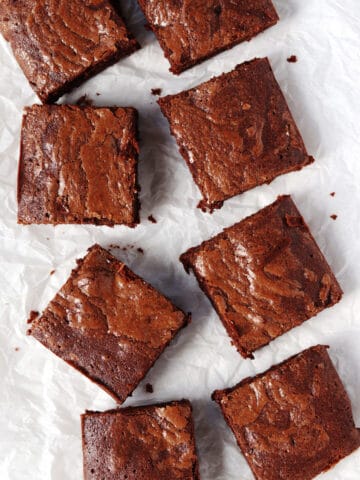
I love to simply keep these chocolate bars on hand in the fridge for when I just want a quick bite of something sweet. If you have any left over though, you can use your homemade chocolate in other recipes such as this chocolate bark or these chocolate covered raspberries.
You could also melt and use it as chocolate sauce, or use this 2-minute chocolate sauce recipe for an even faster sauce.
🍳 Recipe
Homemade Dark Chocolate (Small Batch)
Ingredients
Equipment
Method
- Finely chop any optional add-ins if you'd like to add them to your chocolate bars, and place them in one or more sections of a chocolate bar mold.chopped almonds, cashews or peanuts, chopped dried cranberries
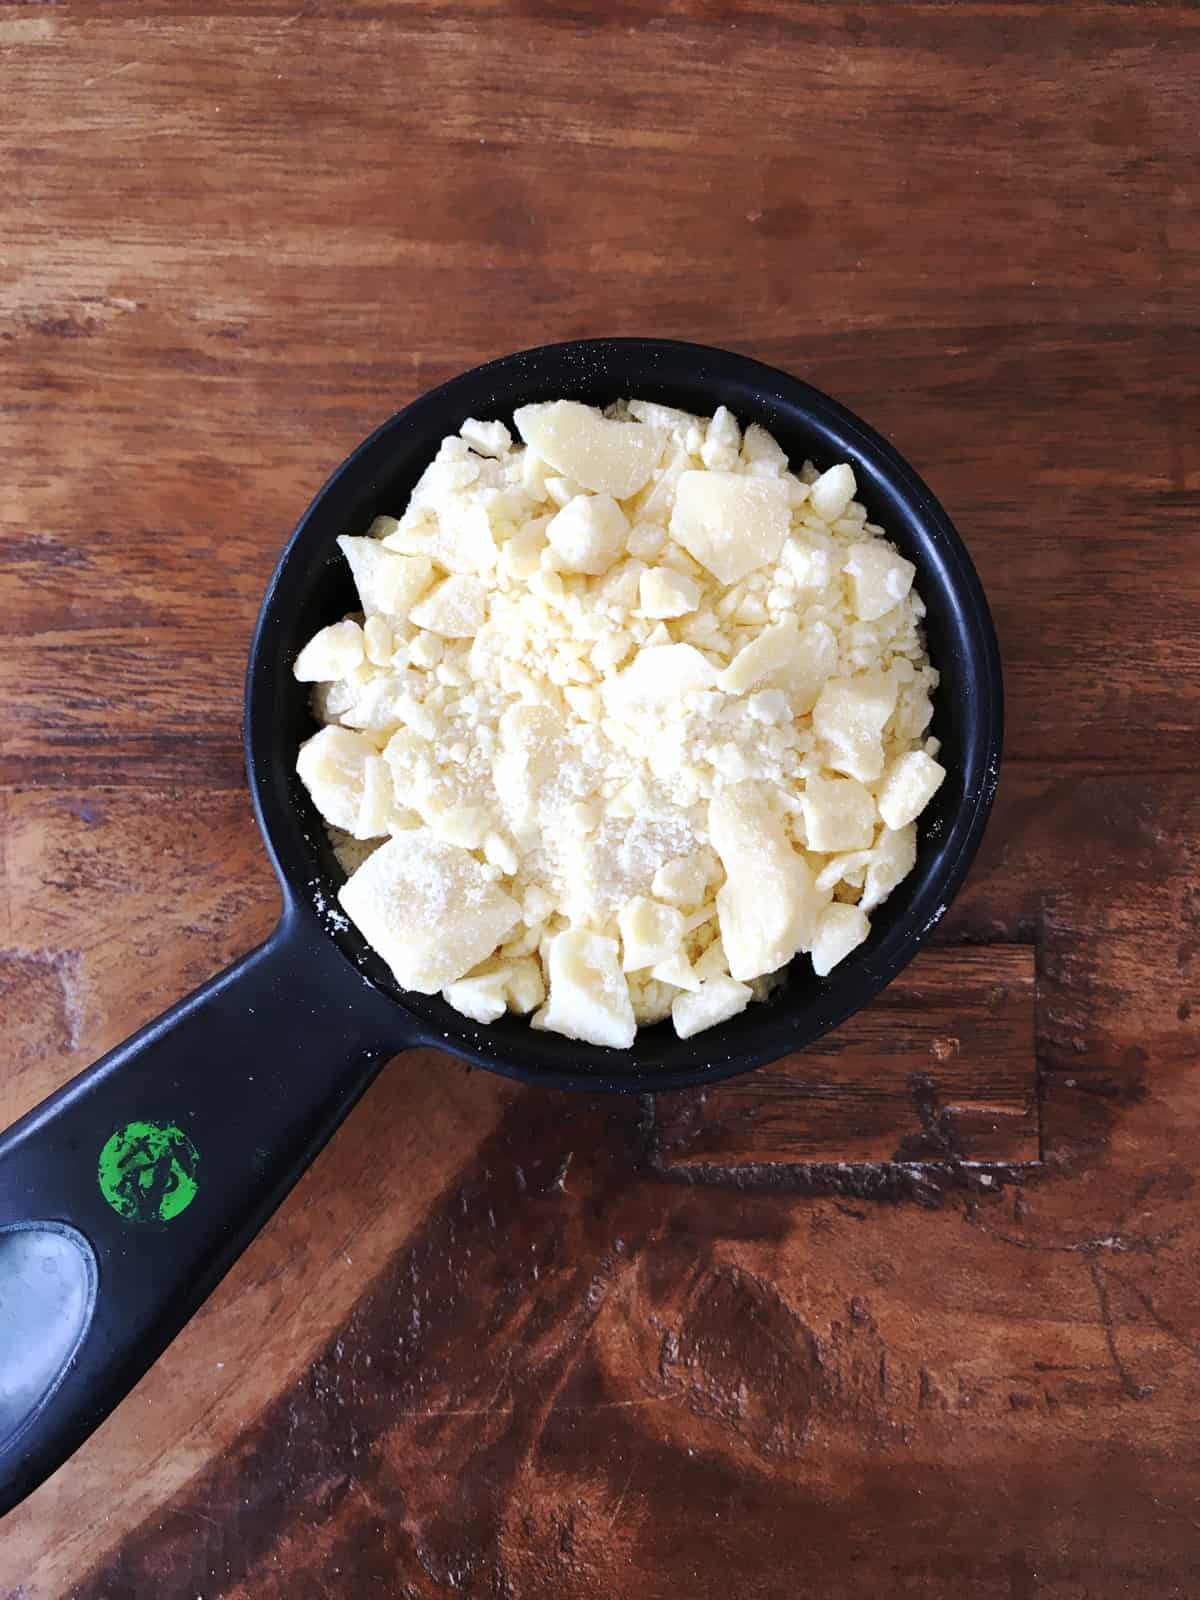
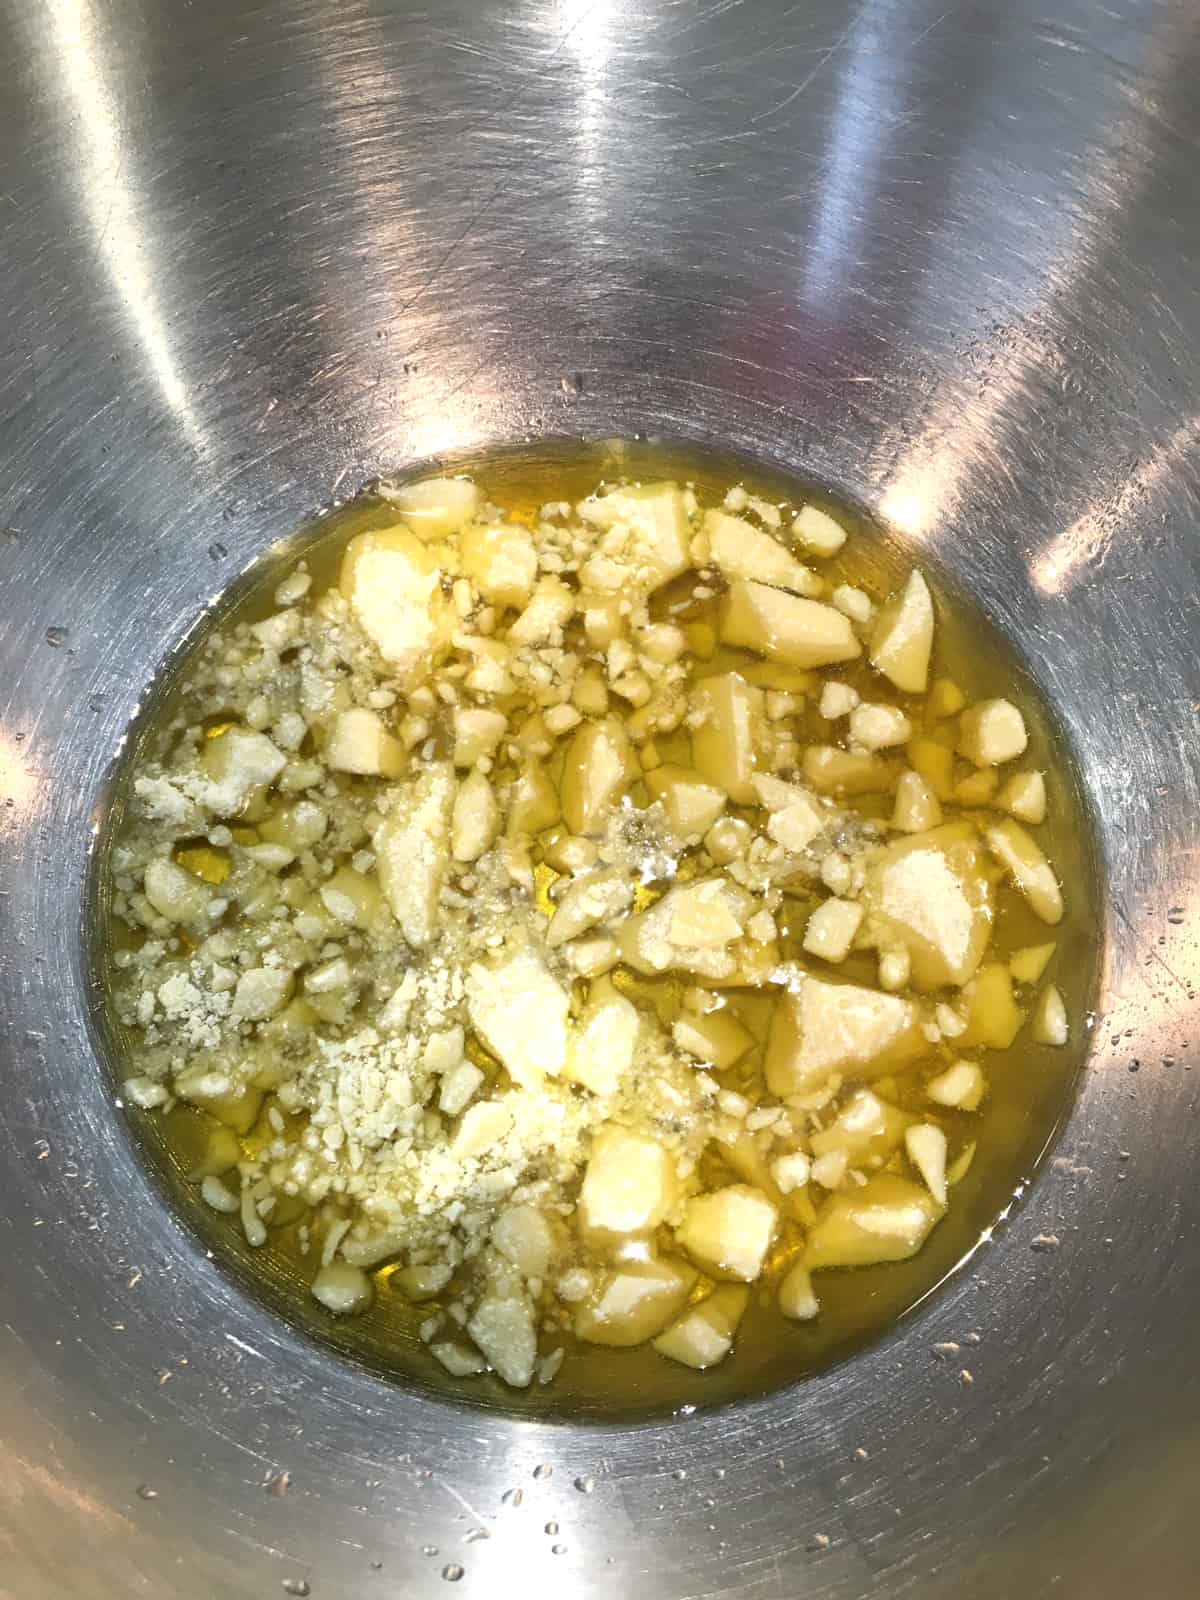
- Place the cacao butter in a double boiler and start warming it using about an inch of water in the bottom of the boiler over medium heat. Continue to heat the cacao butter slowly until it just melts, and then remove the top of the double boiler to a heat safe surface or cooling rack.½ cup cacao butter
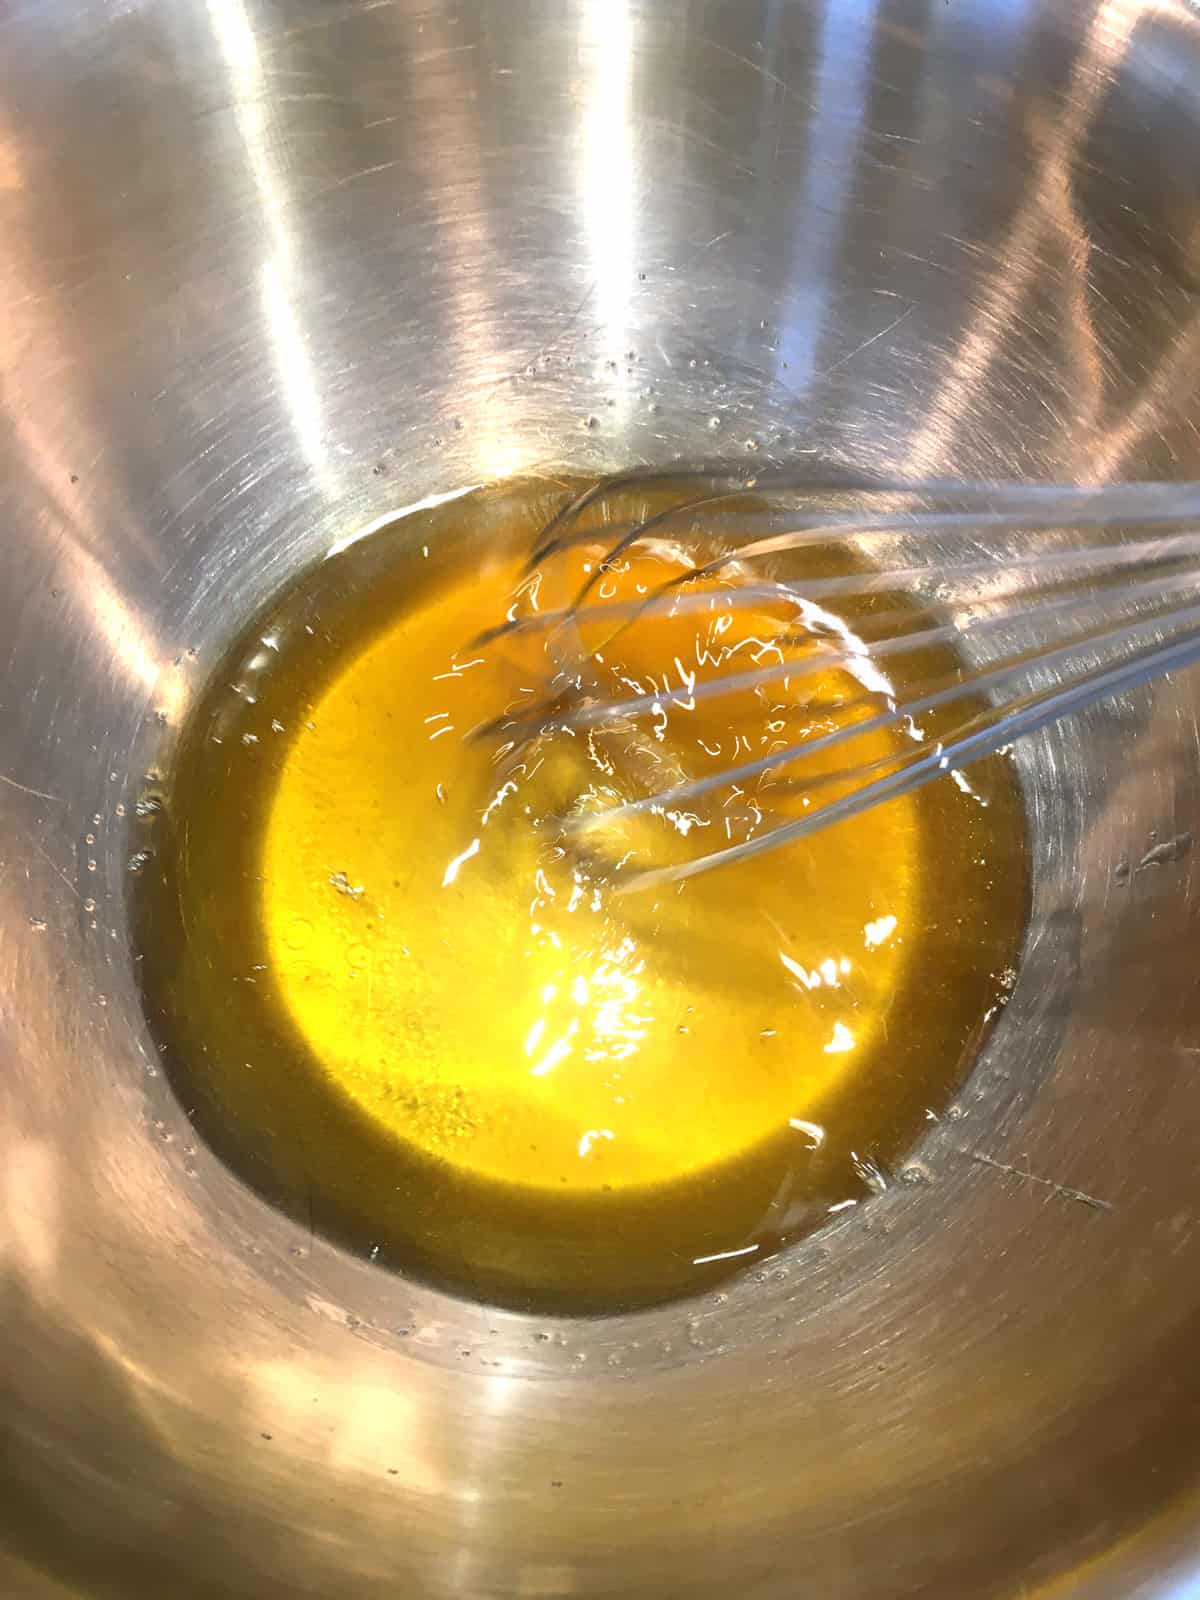
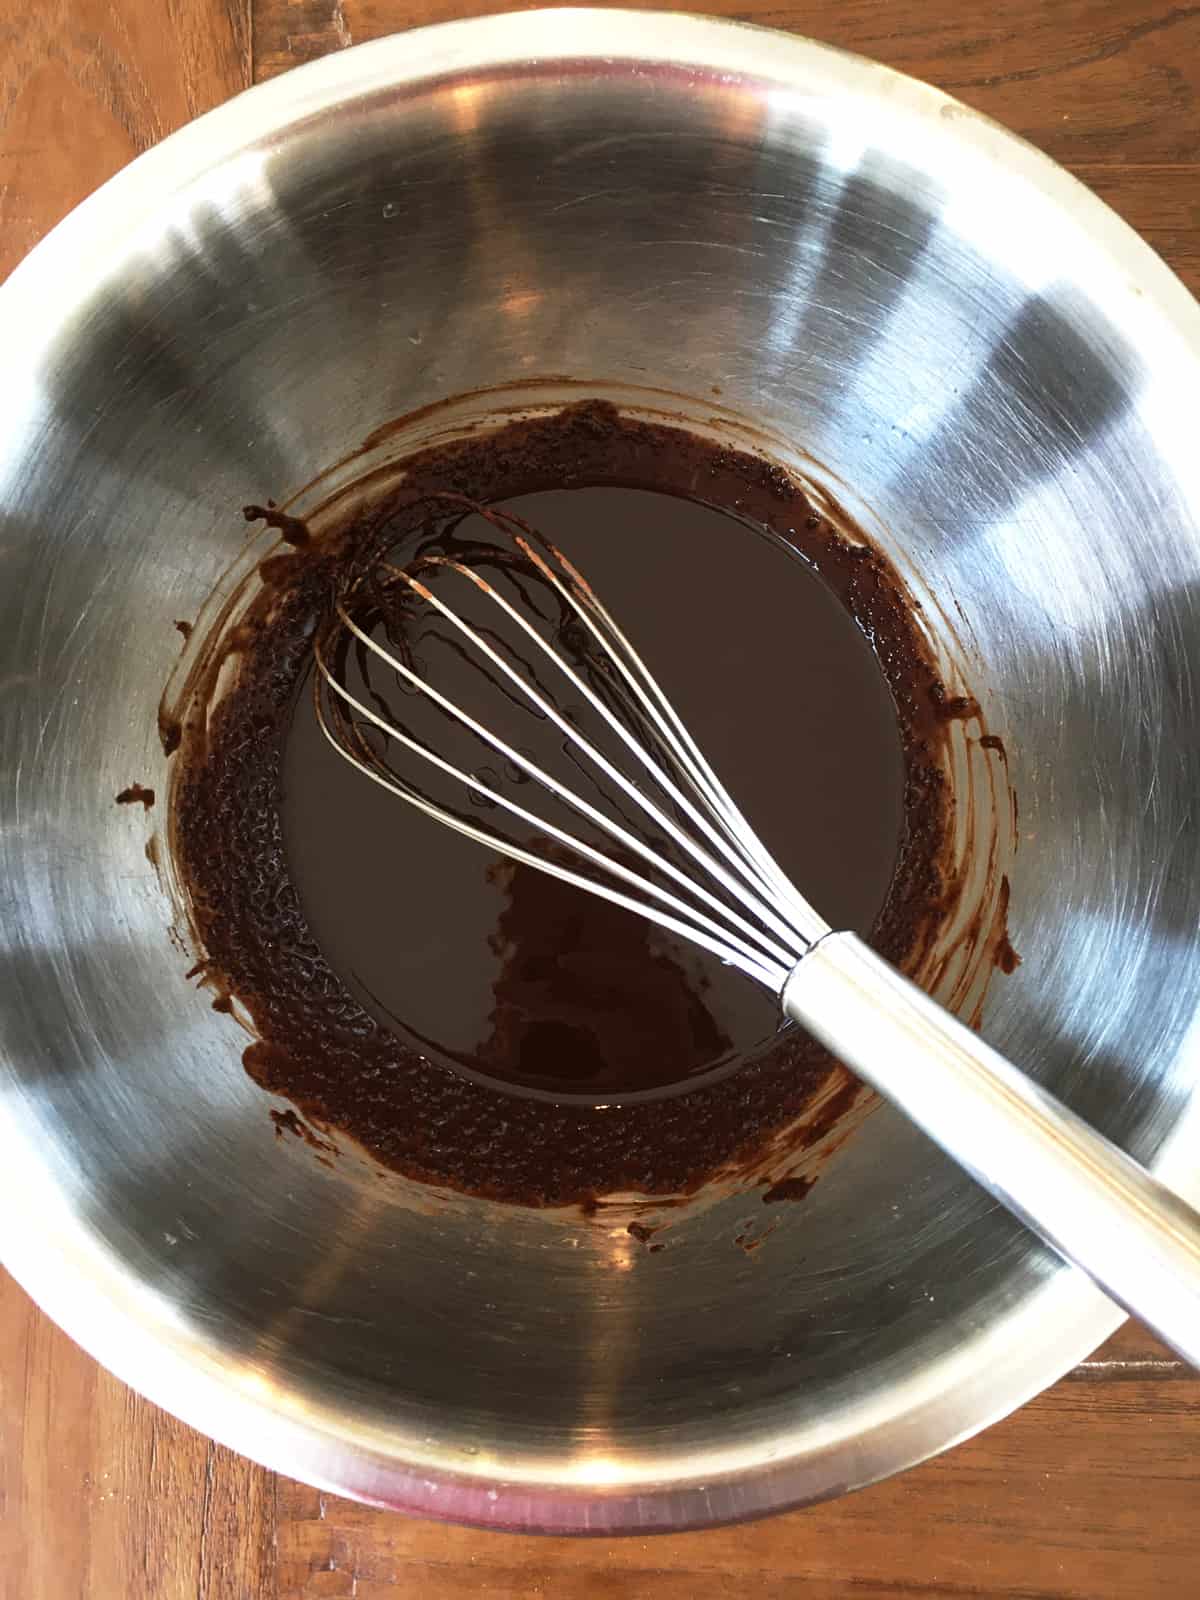
- Whisk in the honey followed by the cacao powder and salt until the mixture is smooth. Take a taste of your melted chocolate to test the flavor; add a little more honey, if desired, to reach your preferred sweetness.⅓ cup raw honey, ½ cup cacao powder, pinch sea salt
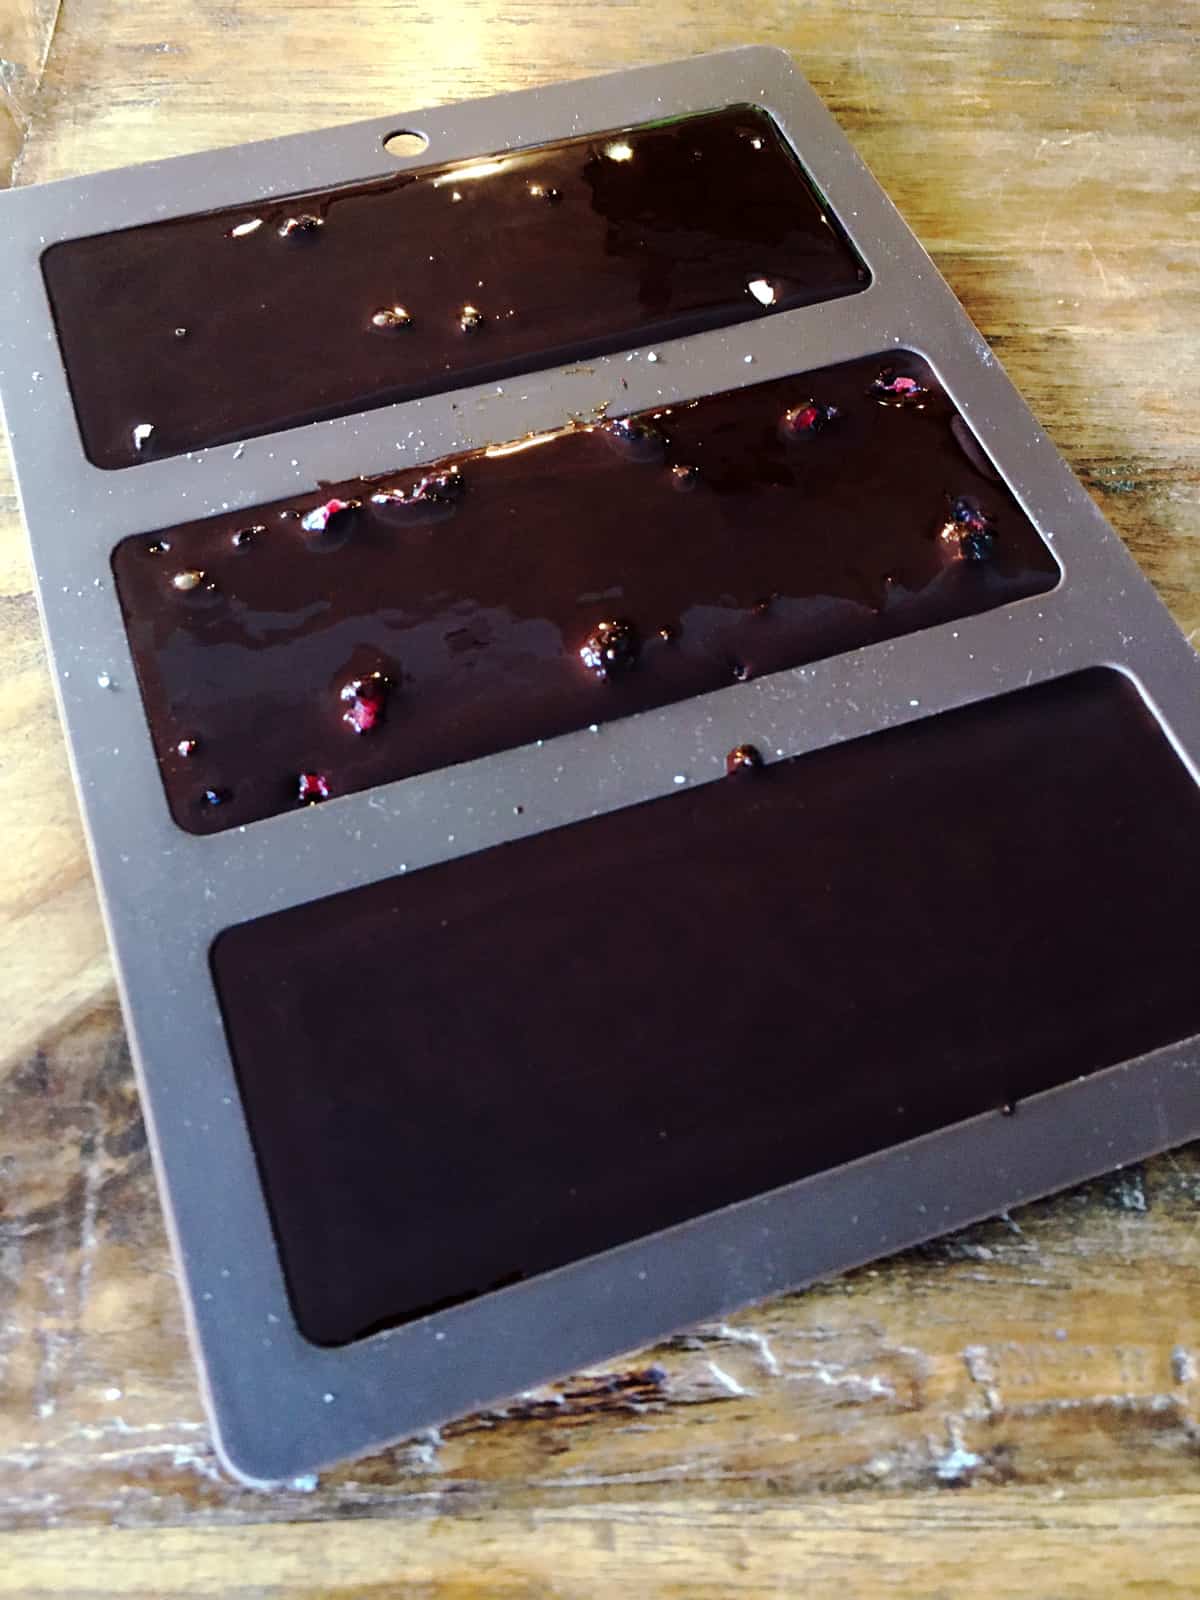
- Place your chocolate mold onto a cutting board to keep it flat as it chills, and then carefully pour the melted chocolate evenly among the mold sections until the chocolate is level with the top surface of the mold. If you have any leftover chocolate, you can line any size container with parchment paper and add the rest of the chocolate to that to cool.
- Carefully transfer the chocolate bar mold to the fridge and chill for at least 30 minutes to solidify (keep it on the cutting board for easy transfer.)
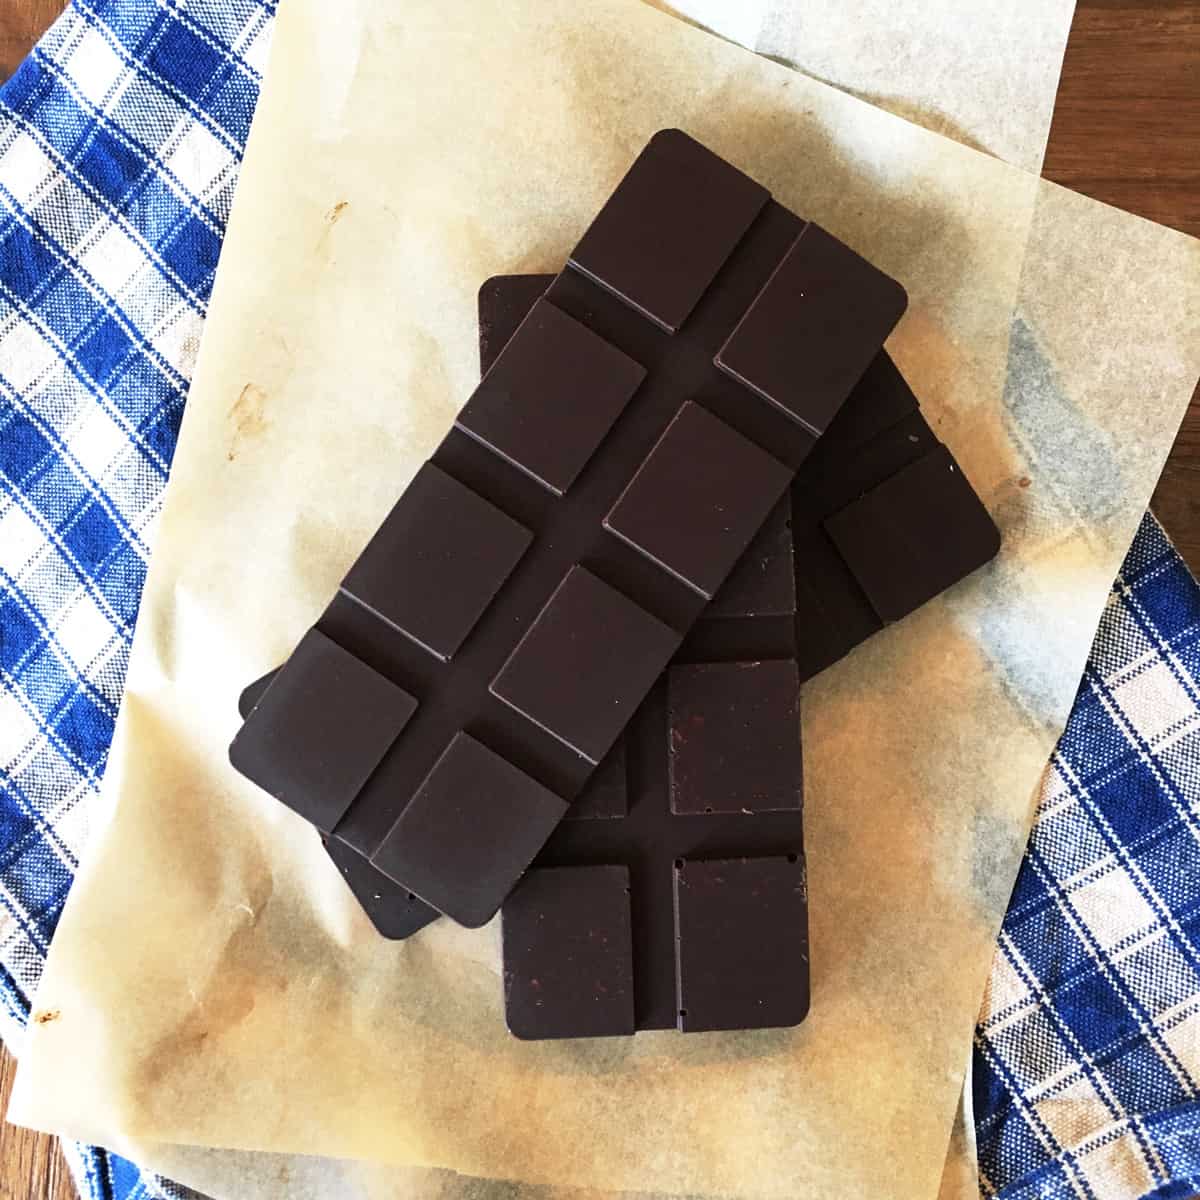
- Remove the chocolate bars from the mold by slowly pulling the sides of the mold away, and then store your bars in the fridge in an airtight container for best results. Enjoy!
Nutrition
Notes
Did you make this recipe?
I'd absolutely love for you to leave a review!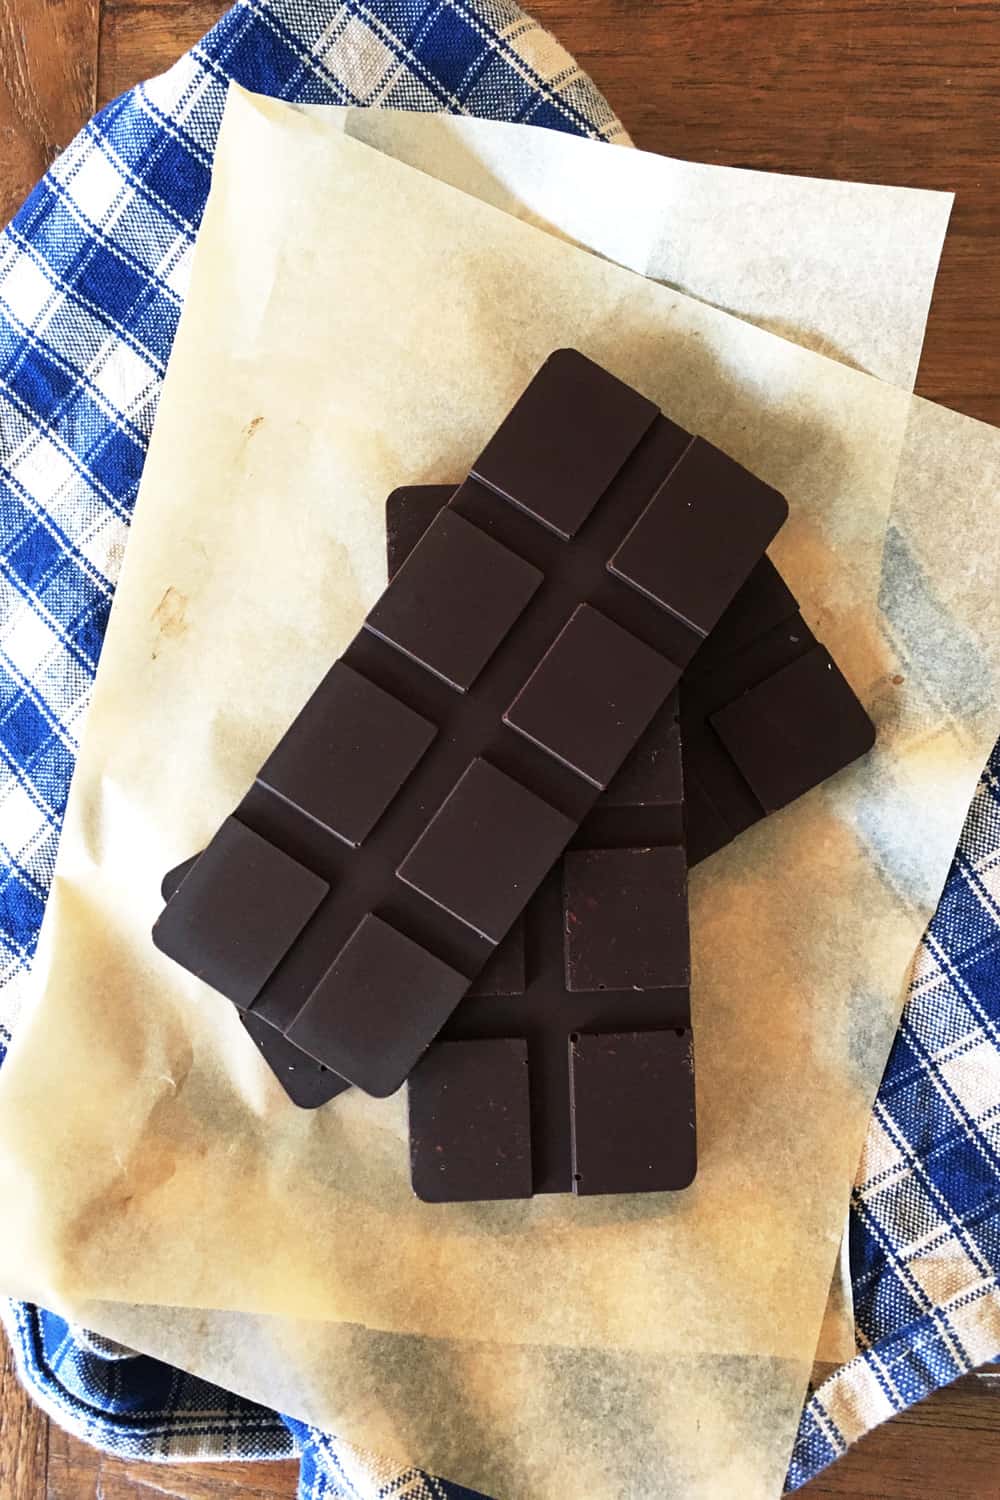


Terry
I haven’t tried this recipe yet but it sounds great. Do you have the measures in weight (grams)?
Thanks!
Allison Campbell
Hi Terry--yes, absolutely! For this recipe, I use approximately 112 g cacao butter, 113 g raw honey (or 105 g maple syrup), 42 g cacao powder, and a pinch of sea salt (about 0.5 g). Hope that helps, and I'd love to hear what you think if you give it a try! 🙂
Dianna
I tried this recipe yesterday, used cocoa butter, raw honey from our hives, extra dark cocoa powder, vanilla, and a dash of salt. The flavor is great. Unfortunately, the chocolate bars are like taffy. The consistency was a little thick but spread in the molds fine. Can you offer any advice?
Allison
Thanks so much for giving the recipe a try, Dianna! I love that you used honey from your own hives; that must taste amazing. 🙂 A softer texture can sometimes happen with raw honey since it doesn't crystallize the same way sugar does and can vary in terms of moisture content.
Freezing should definitely help firm your current bars up, but if they're still a little too chewy you could always chop them into chunks and use them in cookies or melt them back down for a chocolate sauce. For future batches, you could experiment with using a little less honey, use maple syrup instead, or add just a small amount of powdered sugar to help with crystallization.
Sometimes it just takes a little experimentation to get the consistency just how you like it. If you try it out again I'd love to know how it goes!
CONNIE l kenealy
Is the Calories: 452kcal per batch or per bar since you state 3 bars not sure what size the bars would be
Allison
Hi Connie--great question! Each bar is 2 servings (6 servings total for the 3 bars) so each serving has 226kcal; I have updated the recipe card to make this clearer. Thanks for reaching out! 🙂
Claudia
I have tried your dark chocolate recipe, and I must say, "Wow!" It not only tastes amazing but also reminds me of my favorite organic super dark chocolate. Now, I have the option to make it at home when I don't have time to buy one. Thank you!
Allison
Yay! I'm so glad you loved it Claudia!:)