This easy Instant Pot Greek yogurt is fresh, creamy, and perfect for everyday breakfasts. Made in a one-quart batch with just two ingredients, it's simple, affordable, and endlessly customizable. Perfect for quick breakfasts or yogurt bowls!

"I fully understand homemade yogurt after reading your blog. I now know why Greek yogurt is more expensive because liquid is filtered out. Thanks."
⭐⭐⭐⭐⭐ - John, One Happy Dish reader
Truth be told, it took me a while to get up the courage to make my own homemade yogurt. After all, it was hard to believe that the creaminess and consistency of store bought yogurt could even be reproduced at home. I thought for sure you must need some sort of huge, magic yogurt making machine to pull that off.
But the more research I did, I realized that the magic is actually in the microbes. Indeed, all you need to make perfect, rich and creamy Greek yogurt are two ingredients: milk, and a few tablespoons of store bought yogurt. Once you've made one batch, you can then use your own homemade yogurt as a starter for the next batch. And the next batch, and...you get the idea here. An Instant Pot makes the process practically foolproof.
🌿 Ingredients

As mentioned, you literally only need two ingredients for this recipe: a few tablespoons of plain regular or Greek yogurt, and milk. You'll want to be kind of picky with the type of milk you choose though. Whole milk will make the creamiest yogurt, but 2% or 1% milk will also work. (I would avoid skim milk to achieve optimal results.) More importantly, make sure to choose a brand that isn't "ultra-pasteurized". Just look for a pasteurized option instead. I have tried both and unfortunately the ultra-pasteurized versions just don't work well.
See recipe card below for exact quantities.
⚙️ Equipment recommendation
To make this recipe as written, you'll need an Instant Pot (affiliate link). You'll also need need a colander, a large bowl and some cheesecloth to make Greek yogurt. These additional items are not necessary if you want to just make regular yogurt instead of Greek yogurt.
And lastly, you'll need silicone spatula and a food thermometer. Thermometers for yogurt making are inexpensive if you don't have one. Just look for one that advertises that it's good for making coffee drinks/espresso and that should do the job perfectly.
📝 Instructions
Before you get started on your yogurt making, you should know that the time it takes to make yogurt from start to finish is about 6 ½ hours, or perhaps a bit longer depending on how tart you like your yogurt.
This is not to say you'll be in the kitchen all day! The prep and setup is pretty quick, under 30 minutes, but the time it takes to culture your yogurt in the Instant Pot is at least 6 hours.
Then, to make Greek yogurt, you'll strain your homemade yogurt in the fridge overnight. (And it's soooo worth the wait!)
I just wanted to make this clear at the outset, so that you don't start the Instant Pot portion later in the day and have to be up all night until it finishes up. Just plan accordingly and you'll be all set. 🙂
Instant Pot without a yogurt button
If your Instant Pot doesn't have a yogurt button, you can still make yogurt using the sauté function to heat the milk and then maintaining a warm environment for incubation. Check your model's manual for specific temperature settings, or use the low "keep warm" function if available.


🥧 Serving suggestions
The possibilities are endless for your fresh homemade yogurt. During the summertime, I love to incorporate local fruits and honey into it. Fresh strawberries are my personal favorite but feel free to use blueberries, raspberries, peaches, etc.
To make Instant Pot strawberry yogurt, chop up about 2 cups of strawberries per quart of yogurt, or more or less based on preference. Add a tablespoon of fresh honey and use a potato masher to gently crush the berries and incorporate the honey. You can use either regular or Greek yogurt; they're both delicious.
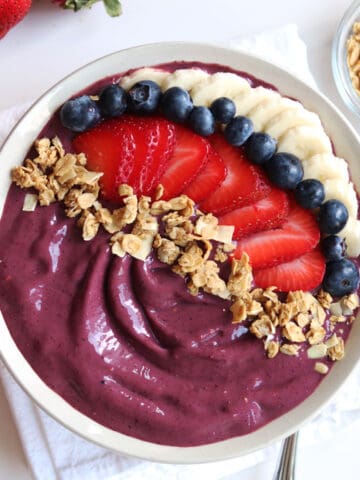
I also love using this recipe for whipped Greek yogurt, a yogurt parfait or a smoothie bowl and topping them with homemade granola. These are some of my favorite Greek yogurt breakfasts!
💭 FAQ
Boiling the milk will accomplish a couple of things as part of the yogurt-making process. First, it'll pasteurize the milk and kill any harmful bacteria in the case that you're using raw milk. And second, it'll denature the proteins in the milk which creates a wonderful creaminess to the yogurt.
No, you don't need to purchase or use any special starter cultures to make homemade yogurt unless you want to. You can simply use a few tablespoons of store-bought yogurt or previously made homemade yogurt to inoculate a new batch of yogurt.
🍳 Recipe

Instant Pot Greek Yogurt (Easy Small Batch Recipe)
Ingredients
Equipment
Method
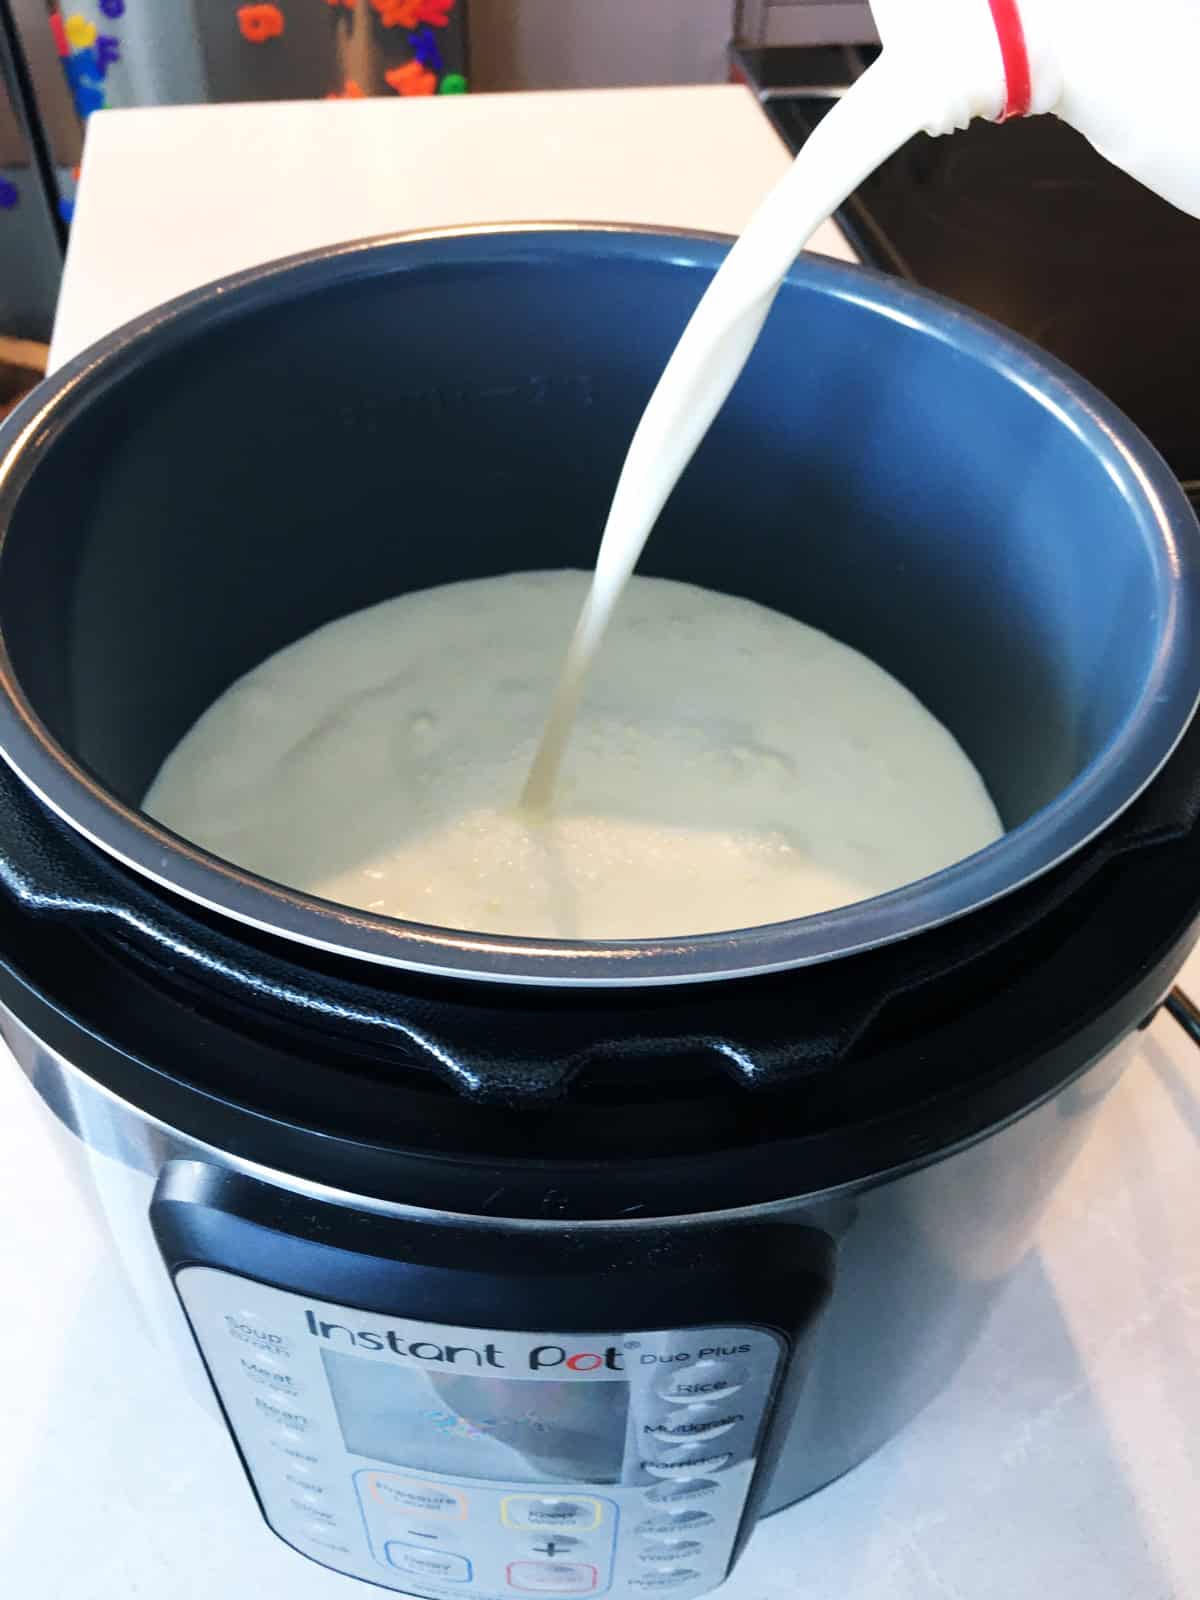
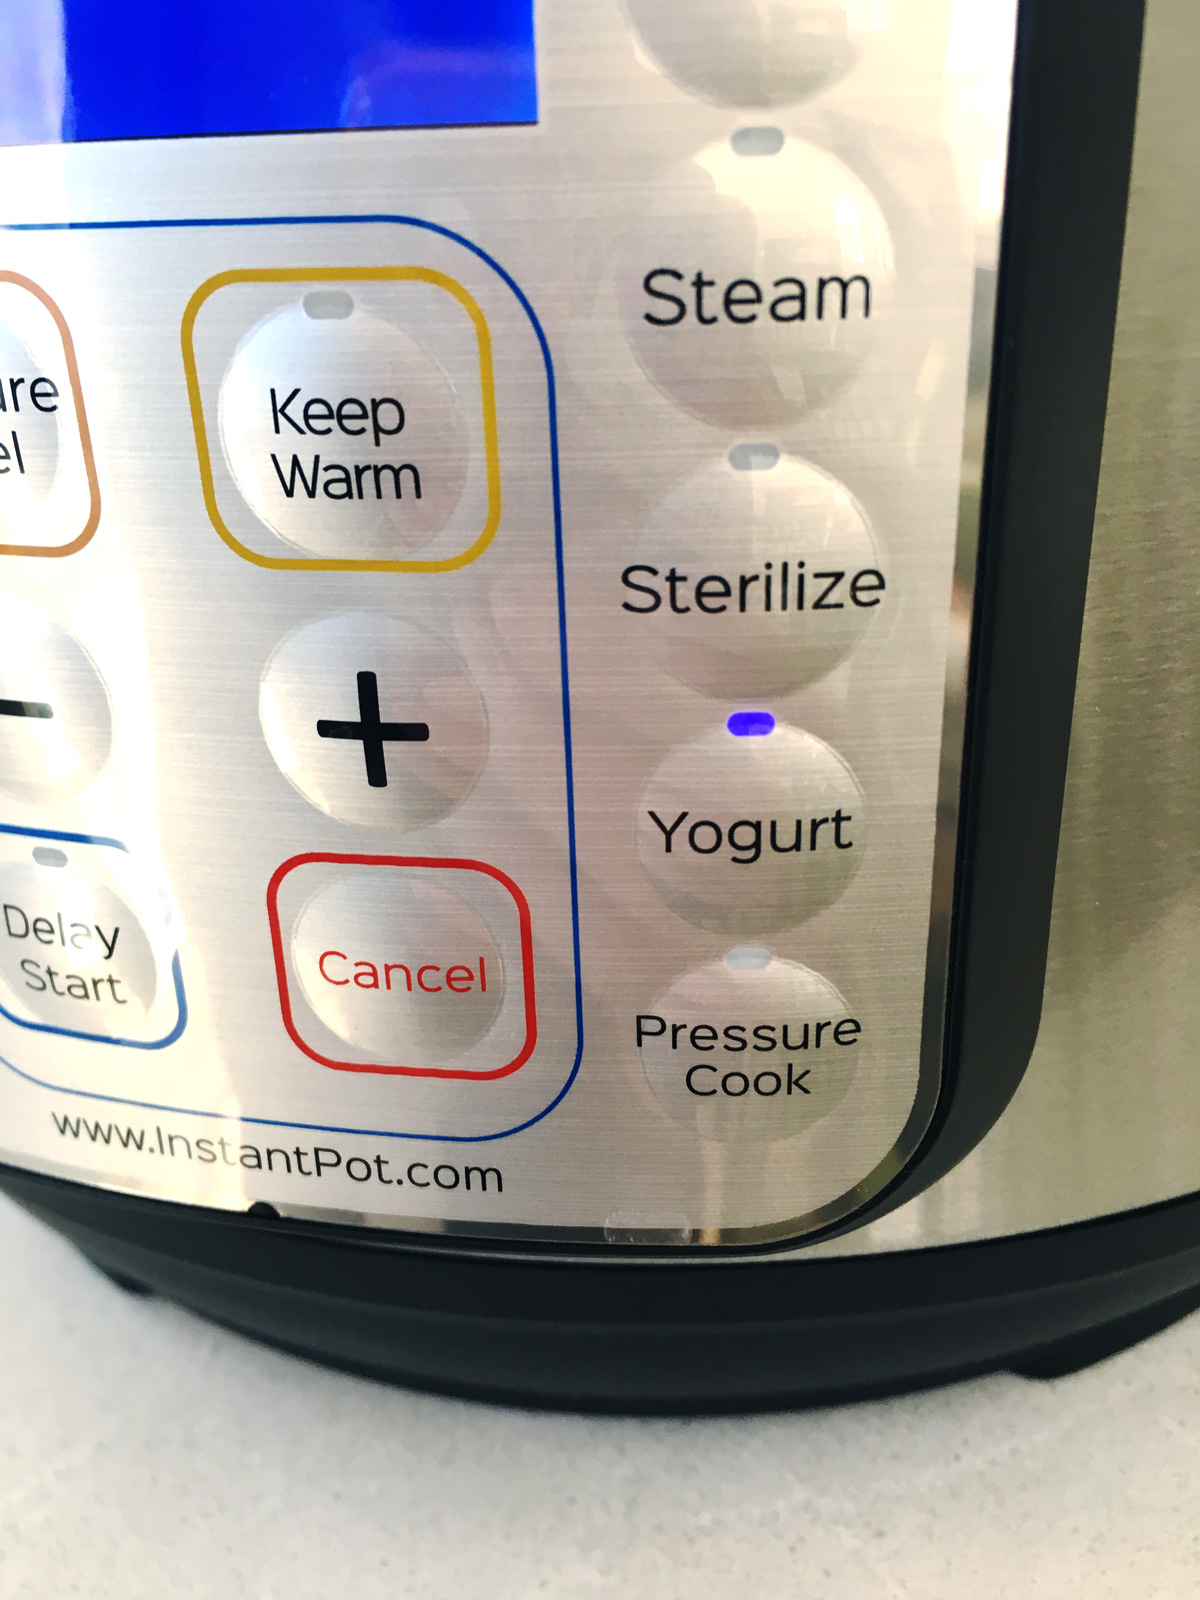
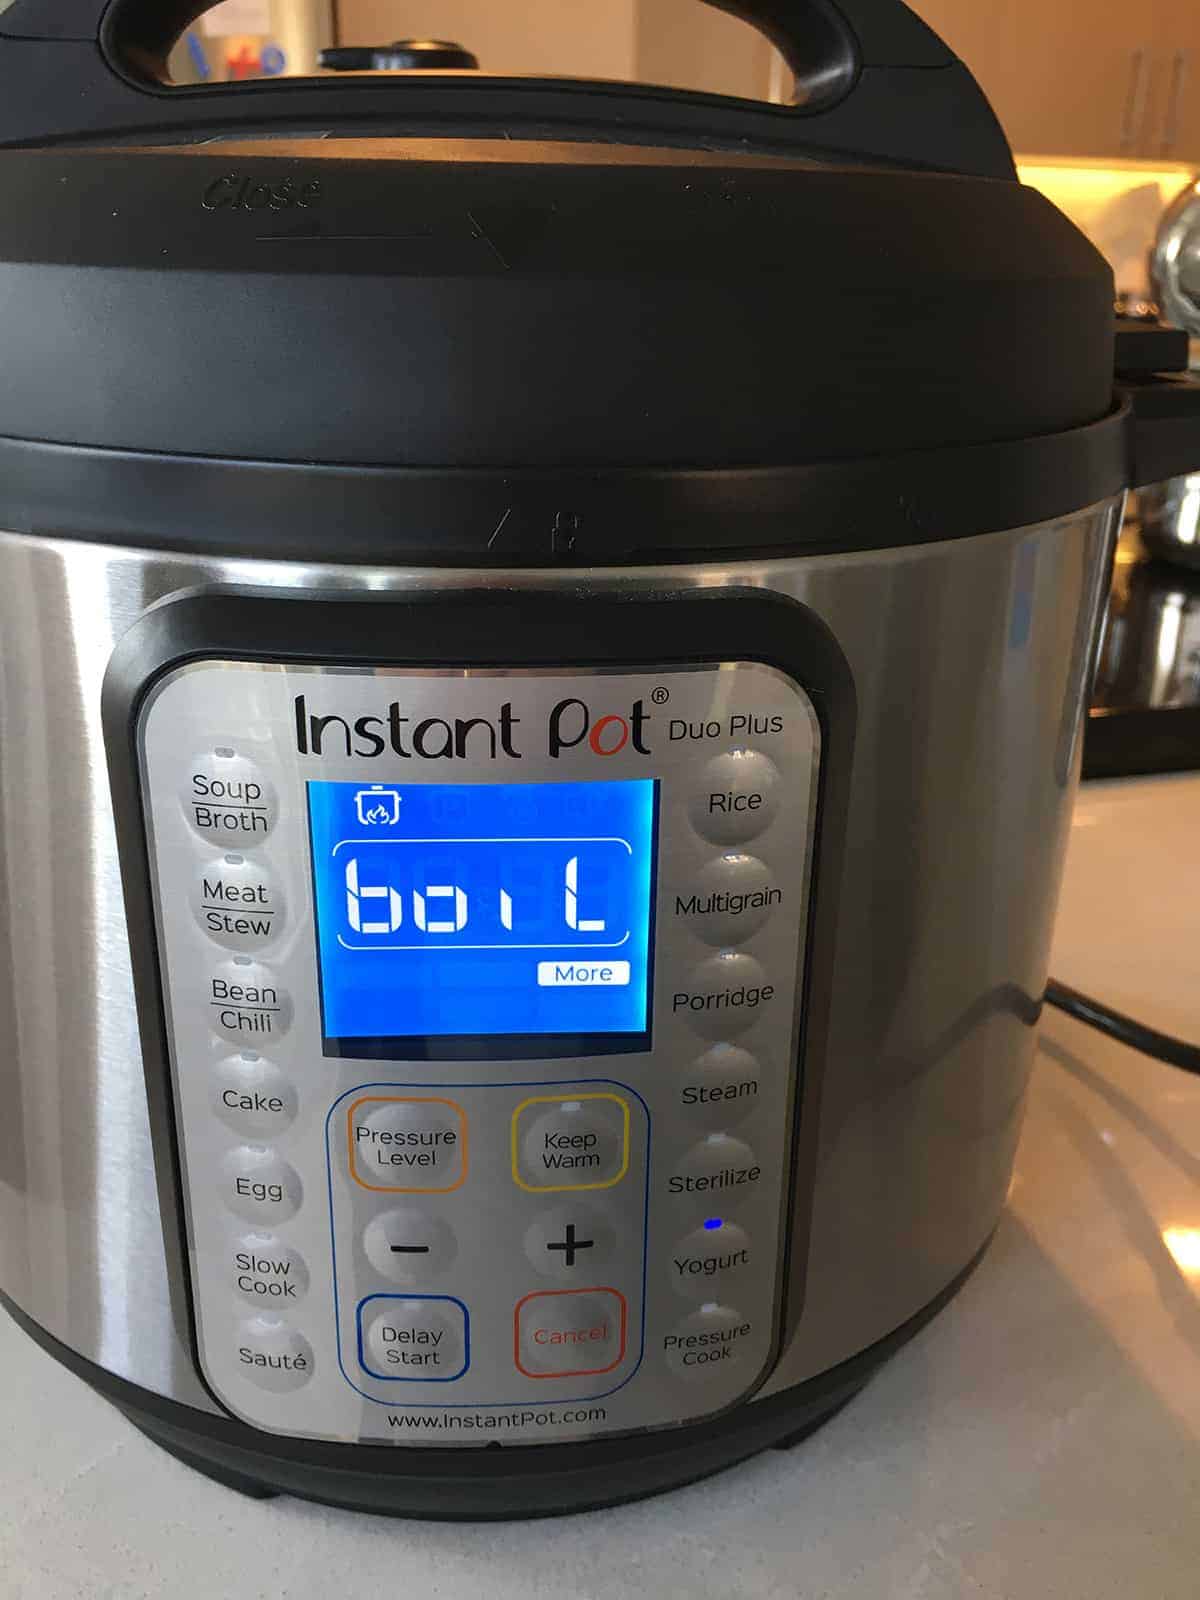
- Pour the milk into your Instant Pot and place the lid on in the Venting (non-pressure cooking) position. Press the "Yogurt" button and then press a couple more times or until you see the "More" mode show on the display. After about ten seconds, you'll hear a few beeps and the display will then show "boil" while your milk heats up to temperature. Once the boil mode is complete, the Instant Pot will beep again and display "Yogt" instead of boil. This process takes about 20 minutes or so.½ gallon whole milk
- Open up the Instant Pot and test the temperature of the milk with a food thermometer; it should be right around 180°F (82°C).
- Take the inner pot out of your Instant Pot (careful, as it will be hot) and cool the milk temperature down to 110°F (43°C) using your thermometer to test as it cools. You can either let the inner pot sit on a wire rack until it cools down to that temperature, or place the inner pot into a larger pot (or kitchen sink) of ice water to achieve the temperature much more quickly.
- Use a soup ladle to transfer about a cup of cooled milk out of your pot into a glass measuring cup and add 3 tablespoons of your store-bought yogurt (or homemade yogurt if you have some already made) and incorporate into the cup of milk. Add this mixture back into the rest of the pot and gently incorporate again using a silicone spatula.3 tablespoons plain yogurt
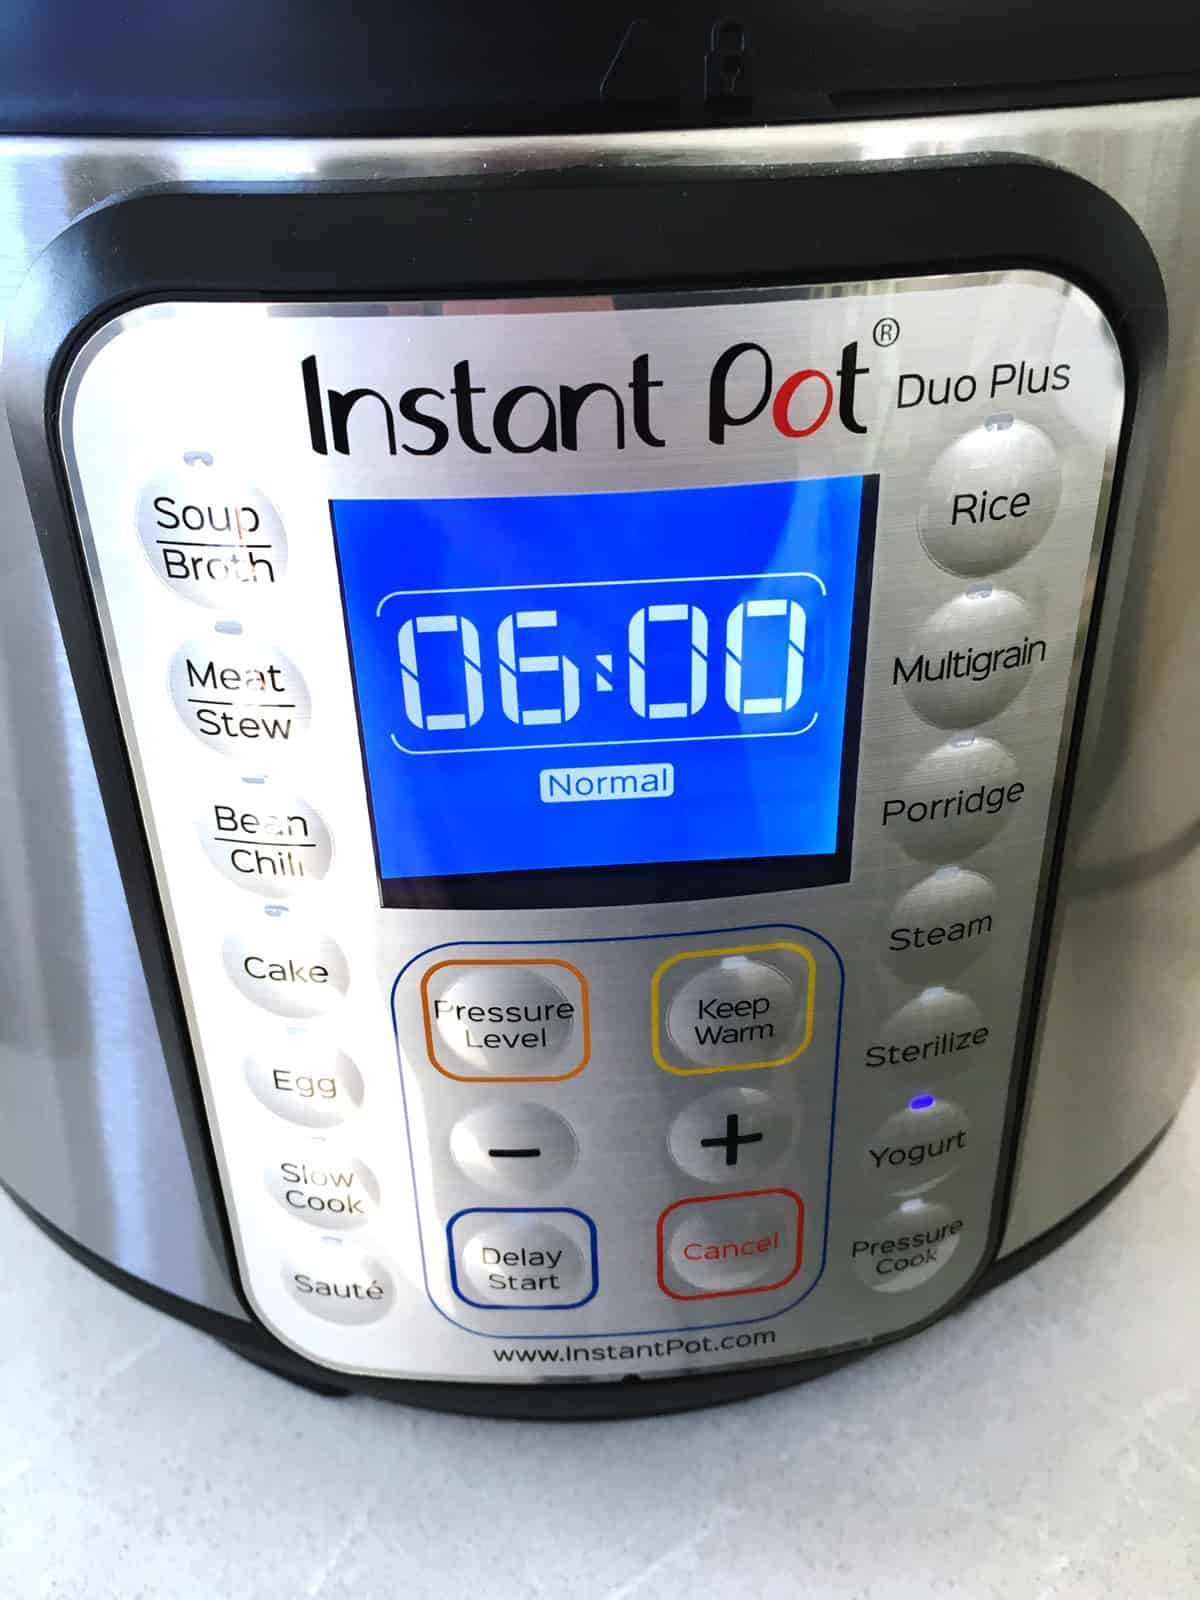
- Place the inner pot containing your incorporated milk and yogurt cultures back into the Instant Pot and close the lid, again in venting position. Press the yogurt button and then use the plus/minus buttons to set the fermentation time, using the default 6 hours if this is your first time making yogurt.
- Once the Instant Pot is done fermenting, it'll beep and display "Yogt" once again; your yogurt is now finished and you can transfer to the fridge as is or continue on to make Greek yogurt. If you find that you'd like it to be a little more tart after a quick taste test, just use the Yogurt program again and set it to 30 minutes or an hour to keep fermenting before storing in the fridge.
- To make Greek yogurt from your fresh yogurt, you'll need a colander, a bowl and some cheesecloth. Make a double layer of cheesecloth and then line the colander with it. Next, place the colander into a bowl which will collect the whey as it strains. And finally, slowly pour in your freshly made yogurt and let the yogurt strain overnight in the refrigerator. In the morning, you'll have Greek yogurt waiting for you.
- Chop up about 2 cups of strawberries per quart of yogurt and place in a mixing bowl. Add a tablespoon of fresh honey and use a potato masher to gently crush the berries and incorporate with the honey. Then, simply fold the fruit mixture into your yogurt and serve or store in the fridge.2 cups strawberries, 1 tablespoon honey
Nutrition
Notes
Did you make this recipe?
I'd absolutely love for you to leave a review!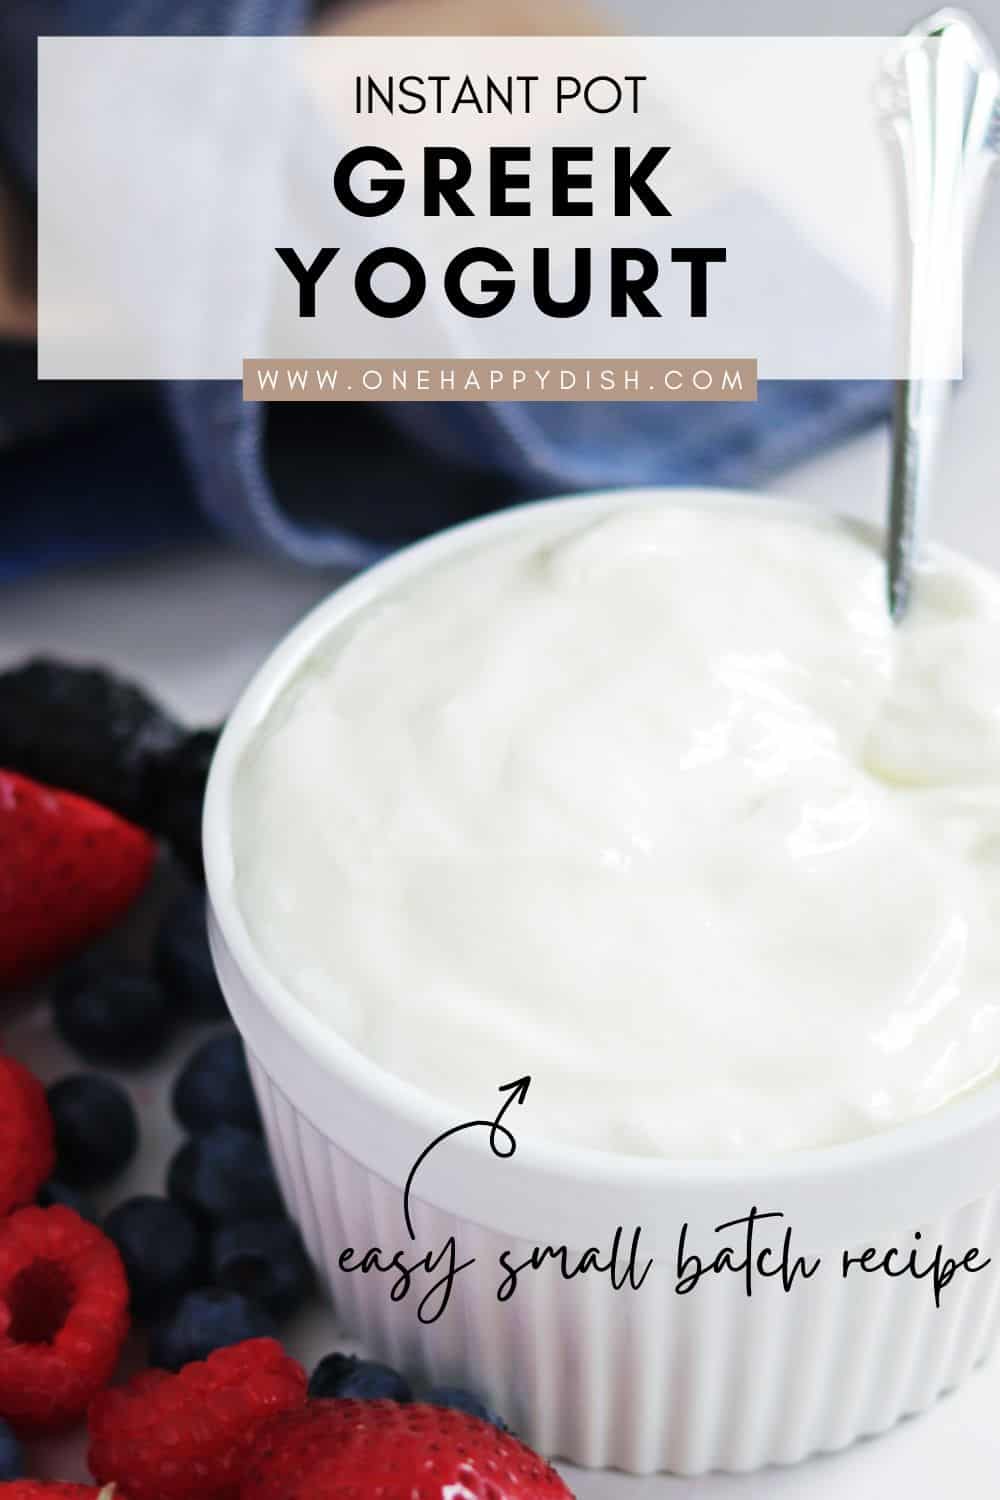


John Chen
I fully understand homemade yogurt after reading your blog. I now know why Greek yogurt is more expensive because liquid is filtered out. Thanks.
Allison
Awesome; so glad it was helpful John!