• Skip to primary navigation
  • Skip to main content
  • Skip to primary sidebar
One Happy Dish
  • Recipes
  • Quick & Easy
  • About
  • Subscribe
  • Contact
    • Facebook
    • Instagram
    • Pinterest
    • Twitter
menu icon
go to homepage
  • Recipes
  • Quick & Easy
  • About
  • Subscribe
  • Contact
    • Facebook
    • Instagram
    • Pinterest
    • Twitter
  • subscribe
    search icon
    Homepage link
    • Recipes
    • Quick & Easy
    • About
    • Subscribe
    • Contact
    • Facebook
    • Instagram
    • Pinterest
    • Twitter
  • ×
    Home » Recipes » Quick & Easy » How to Make Self Rising Flour

    How to Make Self Rising Flour

    by Allison · Modified: Jun 4, 2024 · Published: Jan 22, 2024 · This post may contain affiliate links · Leave a Comment

    Jump to Recipe

    Have a recipe that calls for self rising flour but don't have any at home? Not to fear! This DIY recipe is all you'll need and only requires three common ingredients which you probably do have on hand—with an option for gluten free.

    Homemade self rising flour in a glass bowl on a parchment paper lined table.

    Get this recipe in your inbox

    Enter your email below and we’ll send it right to your inbox. Plus, you'll get our latest recipes emailed each week!

    Loading

    This recipe always comes in handy when I find a baking recipe I really want to make only to discover I don't have perhaps the most important ingredient: self rising flour! Actually, this "recipe" is not so much of a recipe as it is a substitute for self rising flour—and that's the beauty of baking science! The three ingredients in this flour are likely the same exact ones as the store bought version; so you should still have the same great result.

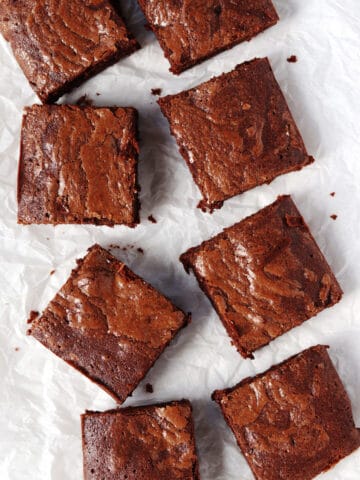
    I actually prefer to just make this particular flour at home now instead of buying the pre-made version because I just don't do enough baking during certain times of the year to justify the separate product. But I always have all-purpose flour, baking powder and salt on hand, so I can just whip up (or whisk up in this case) a batch of this self rising flour replacement. Boom. And in case you're wondering, my favorite recipe to use it in is this 2 ingredient bagel recipe (so easy and so good!)

    Oh, and if you need a gluten free version (which is almost impossible to find locally!) I've included instructions for how to make that below as well, and it's nearly just as easy.
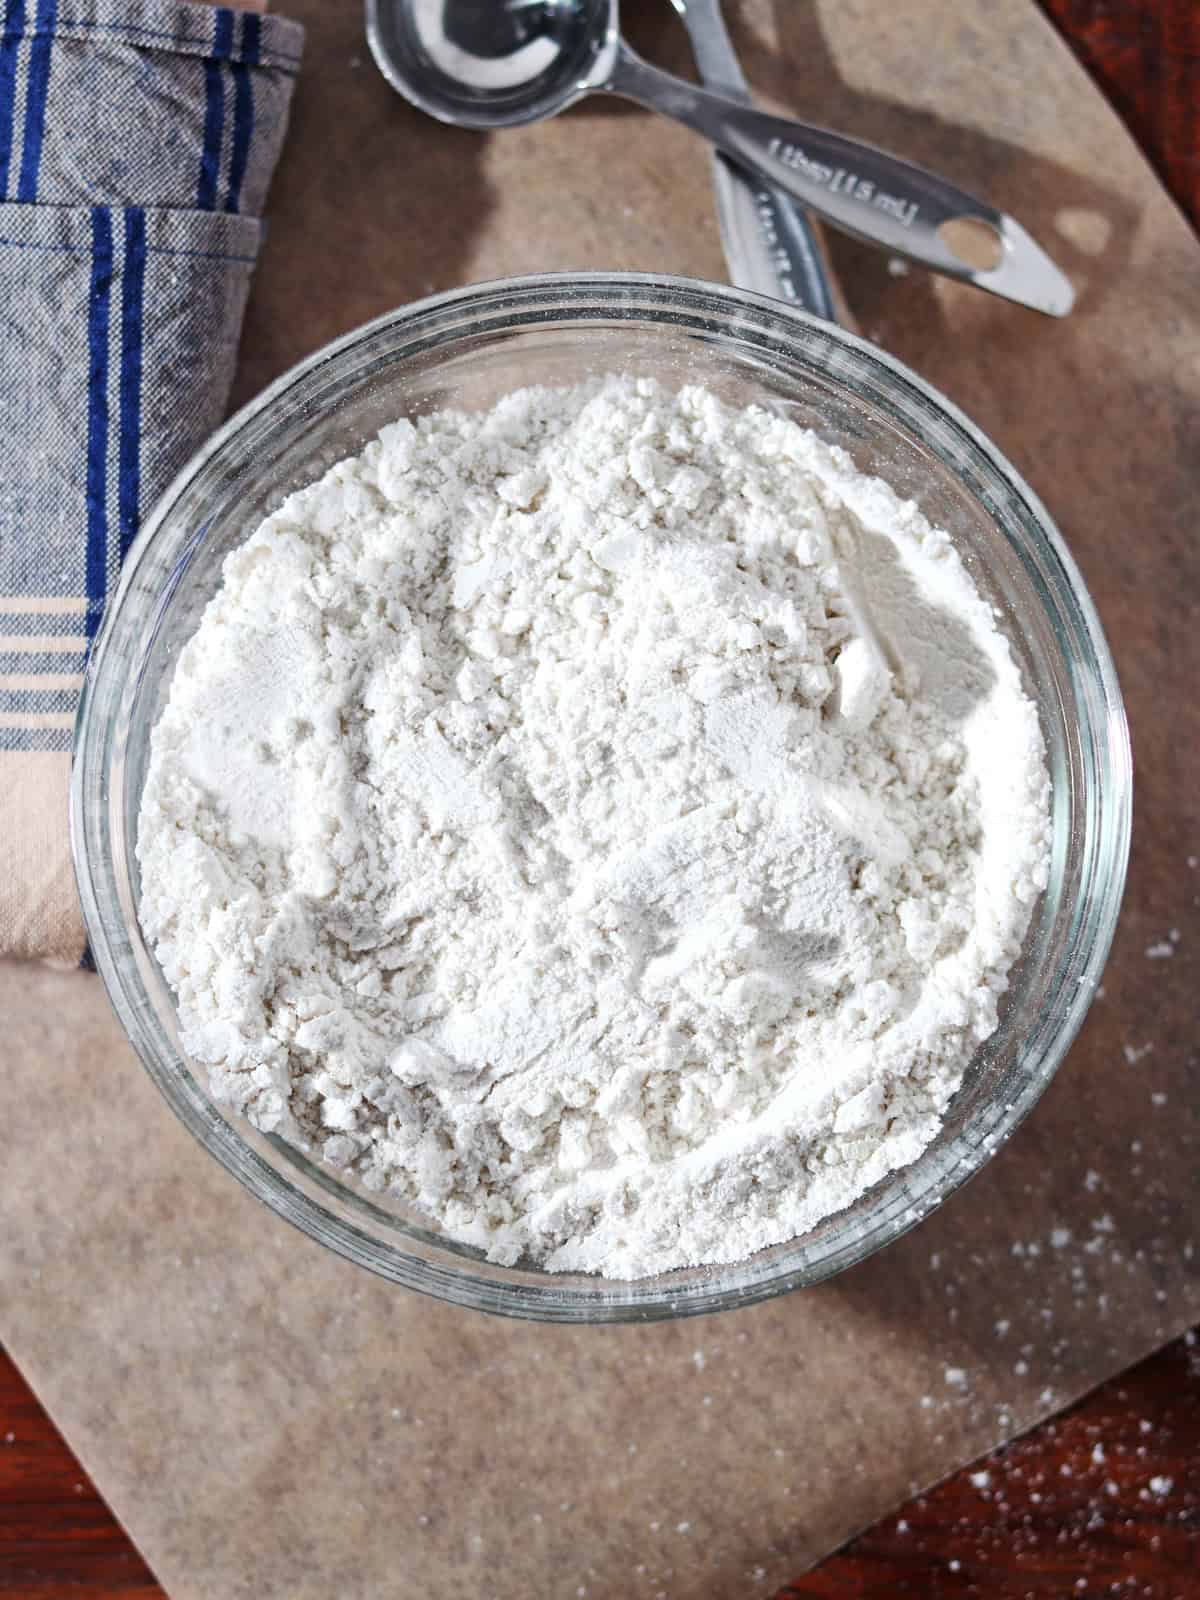
    If you're looking for other recipes requiring minimal ingredients or effort, you'll love these 3 ingredient peanut butter cookies, this 5 minute strawberry banana smoothie bowl or this DIY dark chocolate recipe. 🙂

    Jump to:
    • ❤️ Why you'll love this recipe
    • 🌿 Ingredients
    • 📝 Instructions
    • 🔪 Equipment
    • 🍱 Storage
    • 🎉 Top tip
    • 💭 FAQ
    • 🍳 Recipe

    ❤️ Why you'll love this recipe

    • Saves the day when you don't have any store-bought self rising flour but your recipe calls for it
    • Only needs 3 common pantry staples
    • Takes just 5 minutes to make
    • Can keep on hand for quick pancake or baked good recipes
    • Gluten free option included!

    🌿 Ingredients

    The ingredients needed to make this recipe are super simple and all are pantry staples that you likely have on hand already. Just note that if you'd like to make this flour gluten free, you'll need to make sure that your gluten free flour blend contains xantham gum (the binder that helps hold baked goods together). Otherwise, you'll need to add xantham gum to your flour separately.

    Ingredients for homemade self rising flour displayed on a parchment paper lined wood table.

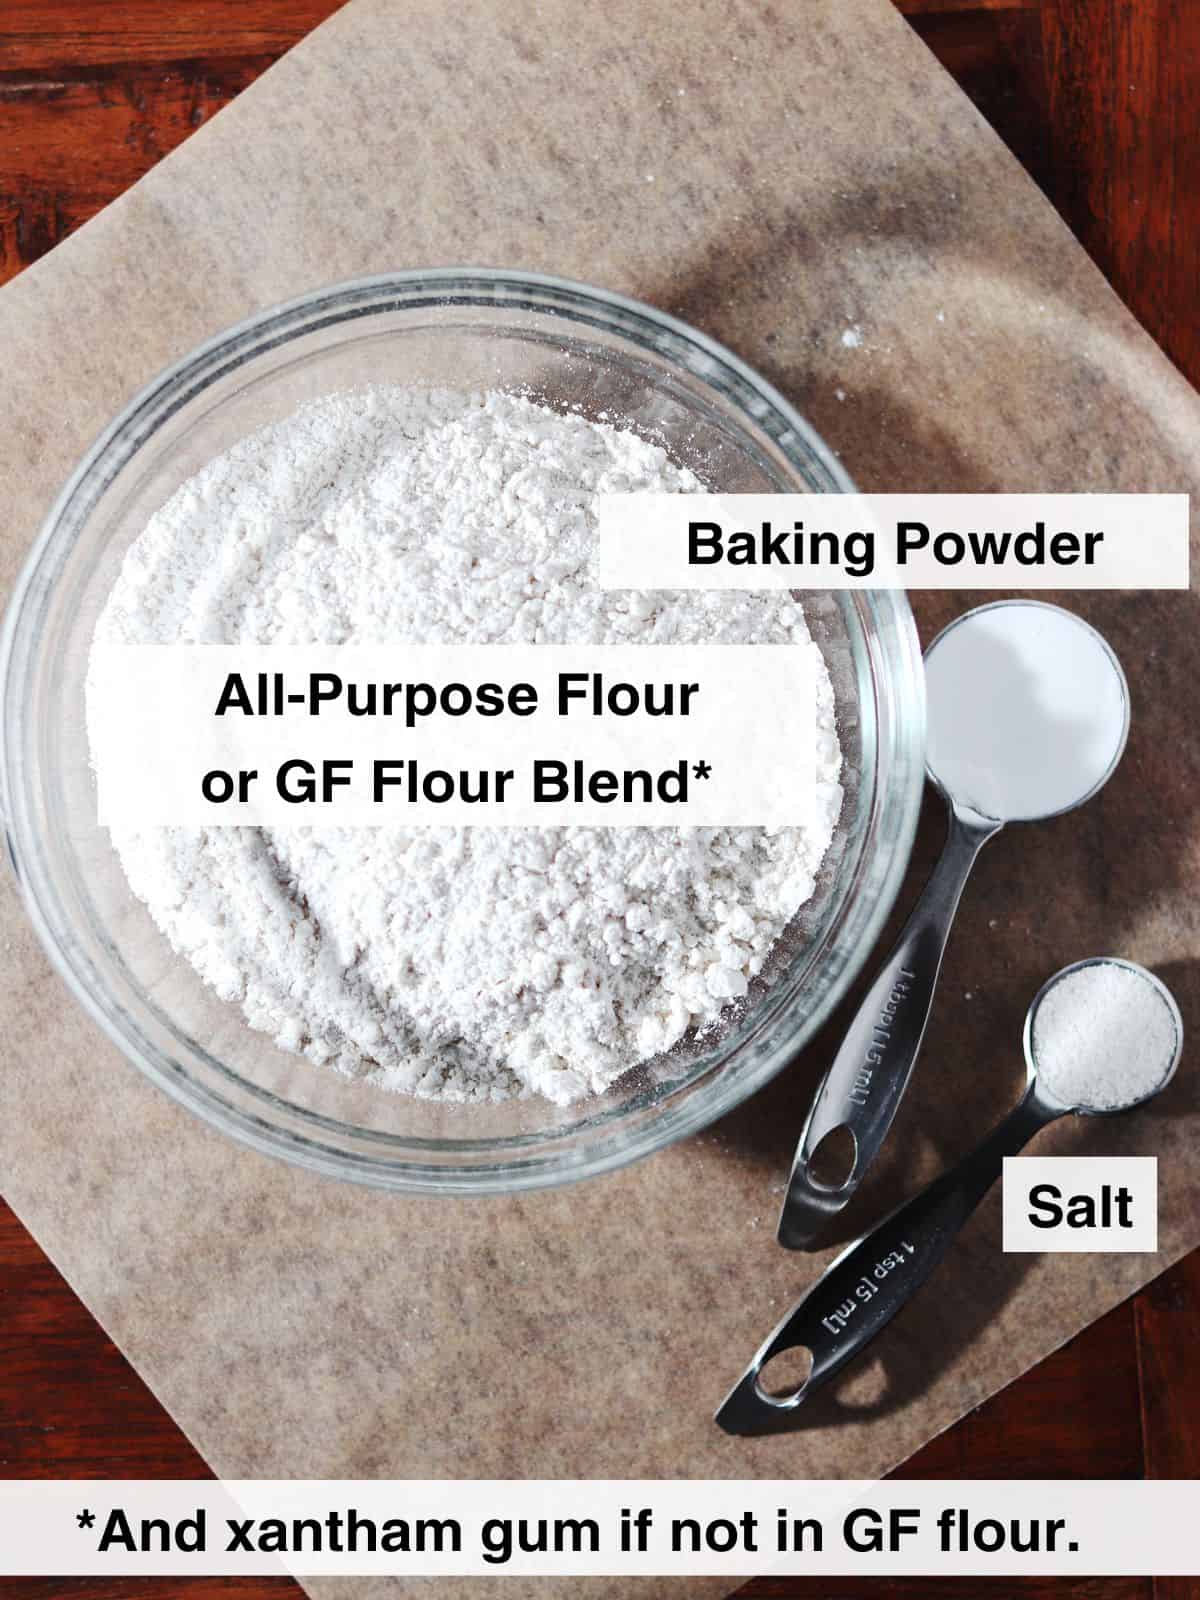
    See recipe card below for exact quantities.

    📝 Instructions

    So how do you make self rising flour? You'll be glad to know that the process is even faster than the time it takes to gather the ingredients!

    Just grab a large mixing bowl, add the flour, baking powder and salt, and use a whisk to incorporate everything well. Or if you'd prefer to use a flour sifter, that works well too. Just make sure you whisk for a at least a full minute or two, or sift at least a couple of times. And that's it! Super, super easy.

    Gluten free self rising flour

    If you'd like to make this recipe gluten free, you'll need to do two additional things:

    1. Check the ingredients on your gluten free flour blend. If it includes xantham gum, you're all set. If not, you'll need to add a little to your flour so that it binds properly when baking, ½ teaspoon for this recipe. You should be able to buy xantham gum at most larger grocery stores or natural foods stores.
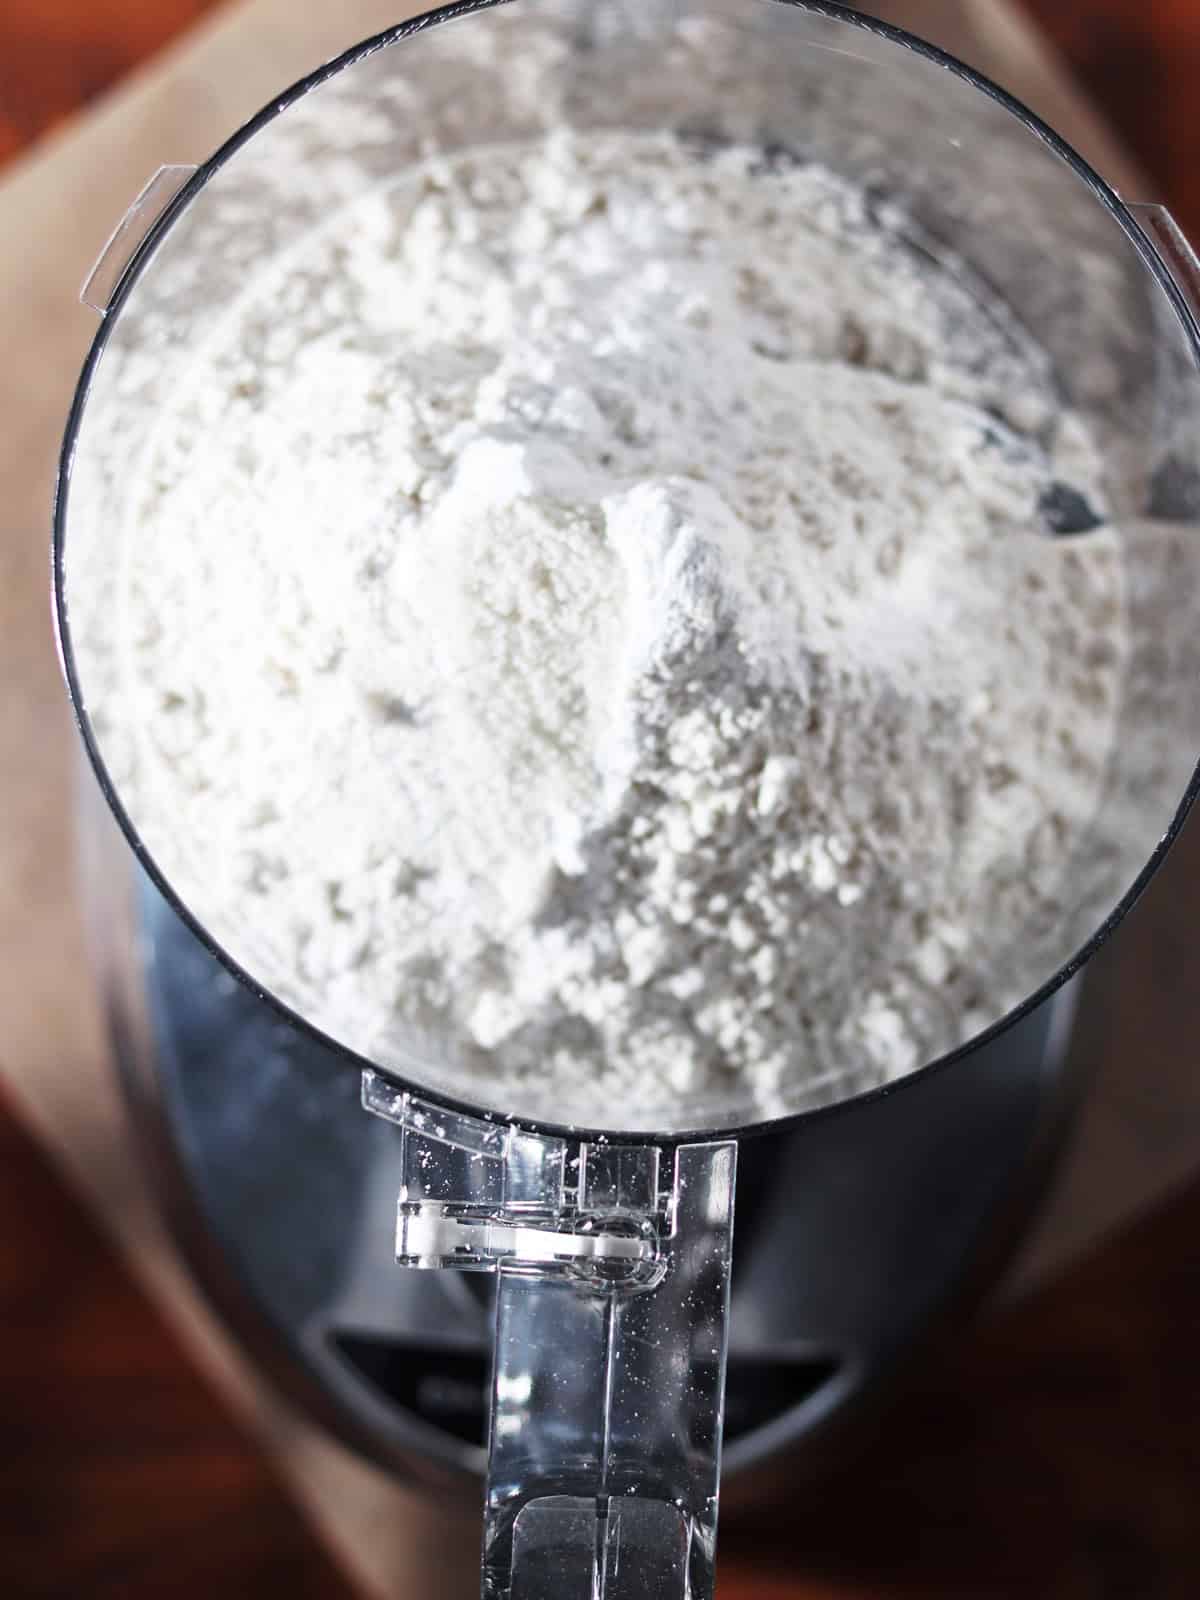
    2. I highly recommend using a food processor rather than a whisk to incorporate your flour (gluten free flours can be a bit fussy.) Process for about 5 minutes to make sure everything is well combined.
    Gluten free self rising flour in a food processor.

    🔪 Equipment

    You'll need the following equipment to make this recipe:

    • measuring cups
    • measuring spoons
    • large mixing bowl
    • whisk
    • food processor (for gluten free version)

    🍱 Storage

    This flour can be stored for up to 6 months in an airtight container in a cool, dry place away from any heat or light sources.

    🎉 Top tip

    Even though this is a super easy recipe, just make sure to take your time measuring out your ingredients so that any recipes you end up using your flour in will be a smashing success.

    Enjoy!

    💭 FAQ

    What is self rising flour?

    Self rising flour is a specific kind of baking ingredient that already contains a leavening agent (typically baking powder) and salt, to eliminate the need to add these extra ingredients to baked good recipes.

    How do you make self rising flour?

    You can make homemade self rising flour by combining two cups of all purpose flour with a tablespoon of baking powder and a half teaspoon of salt.

    Is self rising flour the same as bread flour?

    No. Whereas self rising flour is ideal for quick breads, pancakes and other baking recipes which don't require yeast to rise, bread flour is designed specifically for yeast-leavened recipes and does not contain its own added leavening agents.

    Is self rising flour the same as cake flour?

    Similar to bread flour, cake flour does not contain any leavening agents so it is not a substitute for self rising flour. Cake flour also has a finer grain and is specifically used in pastries requiring a more delicate texture than regular flour.

    🍳 Recipe

    Homemade self rising flour in a glass bowl.

    Homemade Self Rising Flour

    Allison Campbell
    5 from 1 rating
    The perfect substitute for store-bought self rising flour, this DIY recipe uses only common pantry ingredients and has a gluten free option.
    Print Recipe Pin Recipe
    Prep Time 5 minutes mins
    Total Time 5 minutes mins
    Servings: 1 batch
    Course: Ingredient Prep
    Cuisine: British
    Calories: 916
    Ingredients Equipment Method Nutrition Notes

    Ingredients
      

    • 2 cups all-purpose flour or gluten free flour blend (see notes)
    • 1 tablespoon baking powder
    • ½ teaspoon salt
    For gluten free option:
    • ½ teaspoon xantham gum only if your GF flour doesn't already have it

    Equipment

    • measuring cups
    • measuring spoons
    • large mixing bowl
    • whisk
    • food processor for gluten free version

    Method
     

    1. Combine: Place all of the ingredients in a large mixing bowl and use a whisk to incorporate everything well. See additional notes for gluten free option.
    2. Store: If you're not using your self rising flour right away, store in an airtight container in the pantry away from heat and light.

    Nutrition

    Calories: 916kcalCarbohydrates: 194gProtein: 26gFat: 2gSaturated Fat: 0.4gPolyunsaturated Fat: 1gMonounsaturated Fat: 0.2gSodium: 2440mgPotassium: 270mgFiber: 7gSugar: 1gCalcium: 743mgIron: 13mg

    Notes

    Gluten free self rising flour: Use an all purpose gluten free flour blend; if it doesn't contain xantham gum, add ½ teaspoon to the recipe. If you have one, use a food processor rather than a whisk to process the flour fully. Process for 5 minutes and then store as above.
    Storage: This flour can be stored for up to 6 months in an airtight container in a cool, dry place away from any heat or light sources.

    Did you make this recipe?

    Mention @onehappydish or tag #onehappydish!

    More Quick and Easy Recipes

    • Greek scrambled eggs on a white plate.
      Greek Scrambled Eggs
    • Two strawberry aguas frescas with straws.
      Strawberry Agua Fresca
    • Closeup of Caprese chopped salad.
      5 Easy Salad Recipes for Busy Nights
    • Dill pickled deviled eggs on a white serving plate.
      Dill Pickle Deviled Eggs
    • Facebook
    • X

    Stay updated

    Get new recipes via email.

    Reader Interactions

    5 from 1 vote (1 rating without comment)

    Leave a Reply Cancel reply

    Your email address will not be published. Required fields are marked *

    Recipe Rating


    Primary Sidebar

    Headshot of Allison Campbell, food blogger at One Happy Dish.

    Hi, I'm Allison! I create fast, easy recipes that make you feel good—with fresh, seasonal ingredients and the occasional fermented food. Looking at you, kimchi. ;)

    More about me →

    Banner with image of 3-ingredient peanut butter cookies.
    Banner with image of cream cheese scrambled eggs.

    Footer

    ↑ back to top

    About this Food Blog

    • About

    Terms & Conditions

    • Privacy Policy

    Contact Us

    • Contact

    As an Amazon Associate I earn from qualifying purchases.
    Copyright © 2025 One Happy Dish. All rights reserved.

    Rate This Recipe

    Your vote:


    A rating is required
    A name is required
    An email is required

    Recipe Ratings without Comment

    Something went wrong. Please try again.